Movie trailer is a great way for you to market your movie. A good trailer allows your movie to quickly become viral on the social media site. A trailer will only last for 2-3 minutes so you want to make the best use of the time to show only the most exciting clips in the movie. You must arrange the sequence in such a way that your viewers will understand what the movie is about within the first 20 seconds of the trailer.
You should try to introduce the central characters and central conflicts in the trailer. The purpose of the trailer is to tease the viewers about the rising action. You are not to reveal too much of the film as people will find your trailer boring if you do so. You should also avoid recapping the basic facts of your movie. In the meantime, you should avoid giving away too many surprises in the film so that people will be eager to wait for your movie debut. Anyone can learn how to make a movie trailer with a basic video editor like Movavi Video Editor.
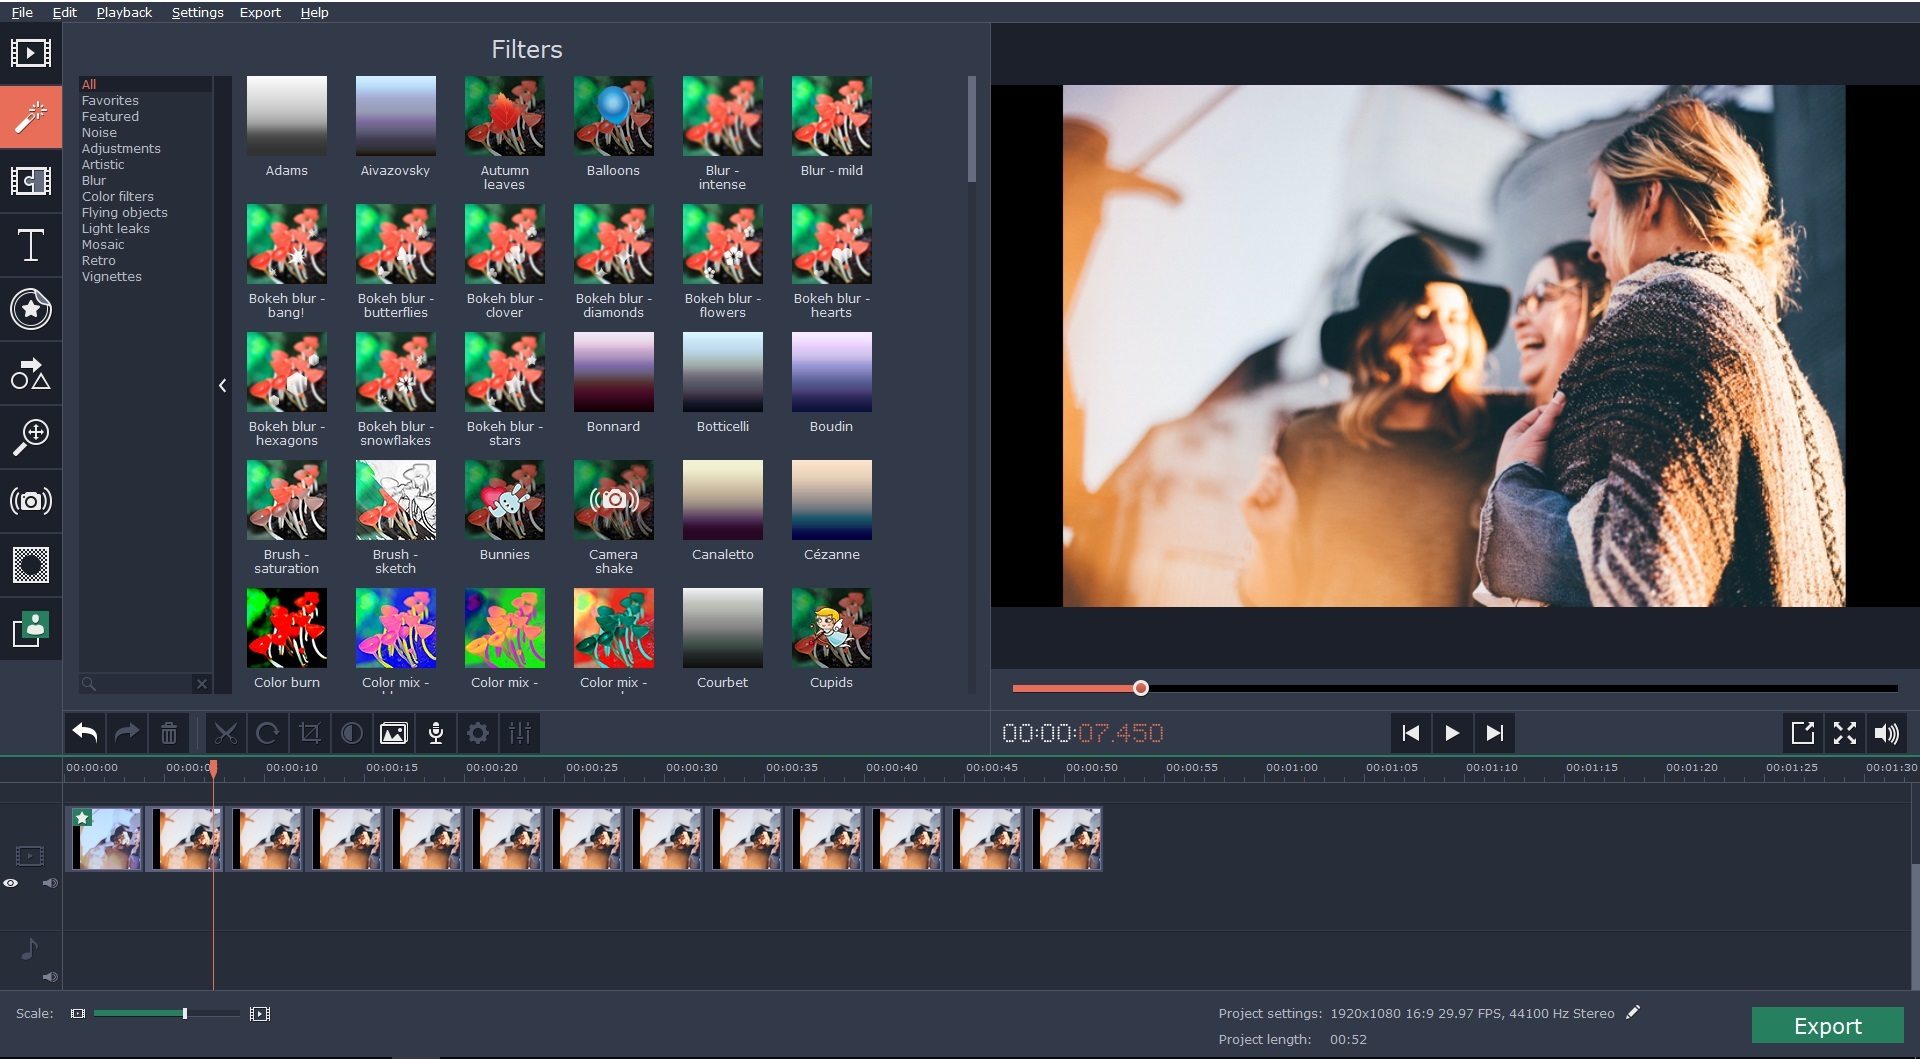
With Movavi Video Editor, you can clip out the important moments of the movies with the scissor tool for use in creating the trailer. The scissor tool is on the toolbar above the timeline. To clip out a part, you must move the marker to the start point and click the scissor tool once to split it. After that, you must move the marker to the end part and click the scissor tool once more to split it. You can also press the Ctrl + X key to cut the clip.
The interfaces of the timeline offers drag and drop feature. You can easily arrange the clip by dragging it with your cursor to the desired position on the timeline. If you want to select multiple clips, you can hold down the Ctrl button during selecting with your mouse cursor.
You can crop off the excess part of the clip by using the crop tool. After selecting the crop tool, you must select the clip that you want to crop in the timeline. The cropping frame will appear on the preview area and you can then move it to the area that you want to retain. Double clicking on the cropping frame will cut out the video clip.
You should add at least one music track to your trailer to make it more interesting. You can add your own music track by either dragging it to the music track row in the timeline or clicking on the import tab. You can also use a music track from the collection included in the software.
To add a music track from the music library, you should click on the music category on the left and select the music track of your choice. If the music track you add has a low volume, you can increase the volume by going to the Audio Properties. In the Audio Properties, you will find the Volume slider which you should drag toward the right to increase the volume.
At the end of the movie, you may want to add information about the credits or legal information. You can do so by using the text feature, the T tab on the left side bar. The text tab allows you to add animation text that move across the screen. To add the text, you must drag the text style to the clip in the timeline. After that, you must double click on the text block in the preview area and enter the desired text.