We all like to fiddle with our sites. Change a few settings, try a few new plugins, maybe see if we can make the site a tad faster with a line of code we found on a random website. Nothing wrong with that – curiosity leads to learning.
But at the same time, if the site is live, visitors are on it, and we don’t have a backup or any other way to undo the changes when things go south that fiddling can be quite dangerous.
In some circumstances, it quickly leads to partial or complete loss of data and site. There is a simple way to be smarter and prevent those situations.
The proper way to test things – the way we know you won’t do it.
If your site is live and you care about it uptime at all, there’s only one proper way of doing any changes on it, regardless of how big or small they are. You need to create a clone of the site. Ideally in a staging environment on the same server, so that the environment is identical.
Or, a bit less ideal – on localhost. Then do the changes on the clone. Test changes and if everything works as it should push them to the live site.
“But I’m only changing two lines of CSS” – you say. Yes, that’s why we told you wouldn’t be using this method because it’s far from a 5-second job. Thankfully we have a solution that’s very safe and takes just one click!
Introducing WP Reset
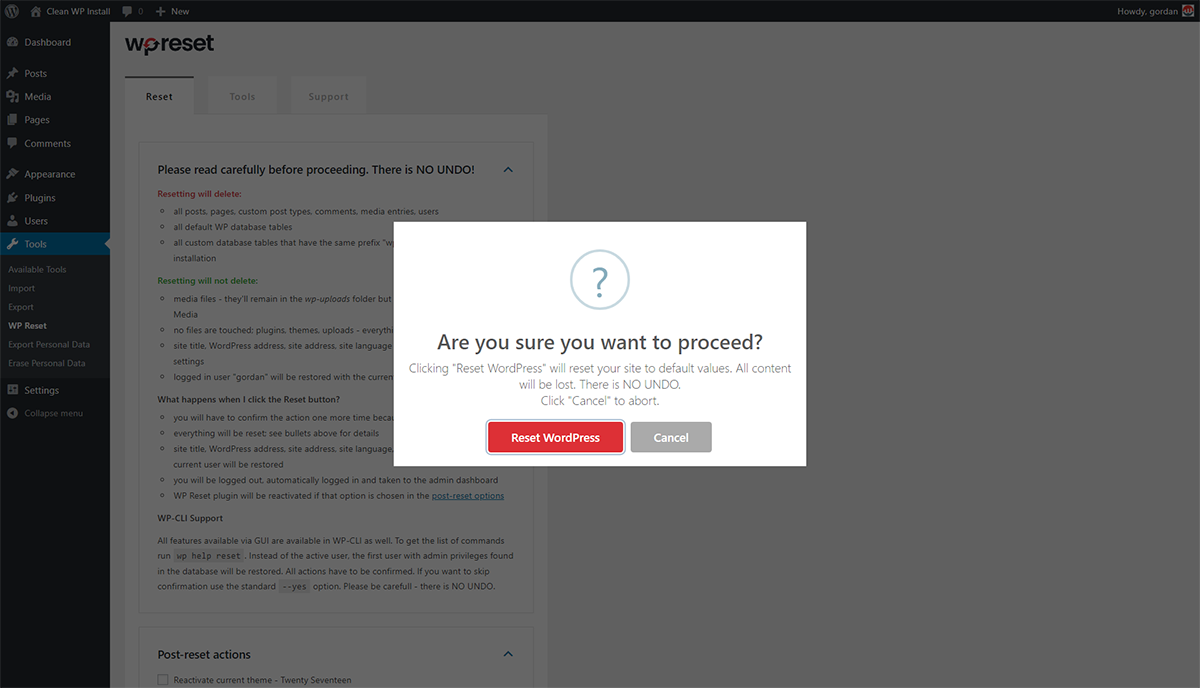
WP Reset is free (no pro version, upsells or any of that nonsense) WordPress plugin primarily aimed at developers to help them develop, test and debug themes and plugins. One of its functions are Database Snapshots, and that’s what we’re going to be using. We won’t be resetting anything. Don’t worry.
- Install & activate WP Reset plugin
- Open WP Admin – Plugins – Add New and type in “wp reset” in the search. WP Reset will be the first result – it’s the round red and black icon. If for some reason you can’t use that method download the ZIP from the official repository wordpress.org/plugins/wp-reset/.
- Make a snapshot of your site
If you prefer video over text, have a look at this Database Snapshots overview by WP Reset. It doesn’t feature the exact scenario we’re describing, but it’ll give you a solid overview of the plugin.
WP Reset’s GUI is available in Tools – WP Reset and you want to jump to the “DB Snapshots” tab. Then click the “Create new” button and enter a name for your snapshot. Something short like “before option XY change,” and click “Create snapshot.”
On an average site, it’ll only take a few seconds. On large sites, it might take a few seconds more. Soon you’ll be able to see your snapshot on the list. Great! We’re ready to make changes on the site.
Time for changes
Do any changes to the site you please as long as you don’t modify any files. Change core, plugin or theme settings. Activate or deactivate plugins; change themes. Add custom CSS via customizer or make any other changes in it.
There’s no limit as long as the changes you make are stored in the database, and not in files. How will you know where are they stored? Unless you edit files via FTP or the built-in file editor chances are WordPress stores your changes in the database.
Don’t like changes? Roll them back
If your little experiments went well – keep them, all is good. If you don’t want them and can’t undo changes the same way you did them, it’s time to restore the saved snapshot.
Open WP Reset again, find your snapshot and click the “restore” icon next to it. Confirm the action and wait a few seconds until WP Reset does its magic. That’s it – you’re back on the previous version of the site without the changes.
Easy, right?
Creating a snapshot with WP Reset takes just one click. It not only gives you a peace of mind knowing that you can undo changes at any time but it also allows you to experiment more and more often.
Just create multiple snapshots after each successful site modification and revert to the best one as needed. Just remember – WP Reset Database Snapshots only work with the database. They don’t contain file copies. So, don’t mess with any files unless you have a backup.
Let me know what you think in the comment box


Comments are closed.