Some weeks back, I came across a piece of program that picked my attention as this allows me to record live Webinars when I’m busy away from the computer.
Now, online live webinars by industry leaders are a great way to gain expert insights on the ropes of your trade. From tech to marketing to education, the virtual world is bustling with different webinars that are useful to both professionals and students.
But one of the issues of this exercise is time. Due to global time differences and our charged programs, it’s always difficult to make it on time.
You maybe waiting to catch up a live webinar that will be broadcast soon. What if your busy schedule does not allow you watch it when it goes live?
You are probably going to be busy with another conference, office duties, taking care of kids, etc and you don’t want to miss a second of the presentation.
Well, the only solution here is to record the webinar so that you can study it at your convenience. But the big question to answer is how to record webinar on PC.
Well, the piece of program I found is Movavi Screen Recorder. This comes to answer the question.
Let me guide you (Windows and Mac users) in these few steps how to go about it and record webinar (and any other onscreen video) with the Movavi program.
How to Record Live Webinars Conveniently With Movavi Screen Recorder
Step 1
First, you will download & install Movavi video screen capture Studio in your desktop or laptop.
Step 2
Next, you will have to set the capture frame.
Go to the web page that will feature the webinar and draw recording frame over your desired capture area. If you don’t want to draw the capture frame manually, you can simplify the process by choosing one of the ready made presets from the Capture Area section.
Before you start recording, make sure to check your computer audio system and switch off the microphone otherwise the software will also capture the unwanted background noise.
Step 3
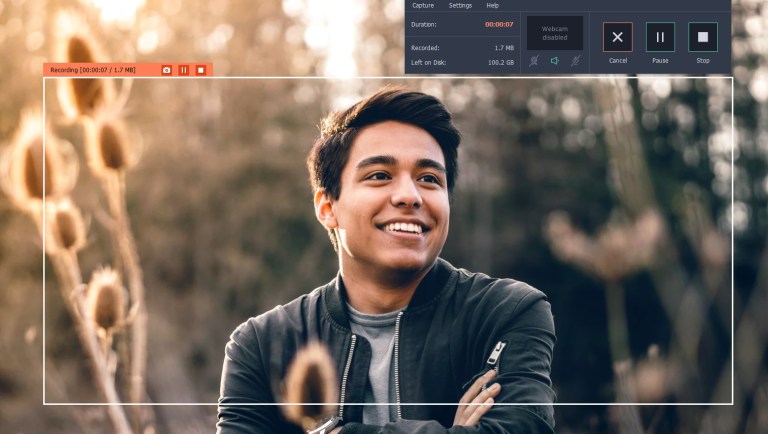
Now, we will record the webinar.
When the webinar starts, just click on REC tab. The Movavi software will immediately start to capture it after a 3-seconds pause. Hit on Stop after the recording gets over.
Step 4
You can edit the webinar after recording if you want as the Movavi program comes with some video editing features as well. The software enables you to trim out unwanted segments with scissors symbol.
- First, use the white marker to map the part of the sequence that you wish to remove.
- Then, click on the scissors icon.
- Next, bring the marker to the end part of that sequence & click on scissors icon again.
- Click on trash to delete the part.
- Now, click on Save As to save the trimmed file.
Step 4
Go to Export tab and choose a format if you wish to change the video format. Then, click on Save.
Features of Movavi Screen Recorder
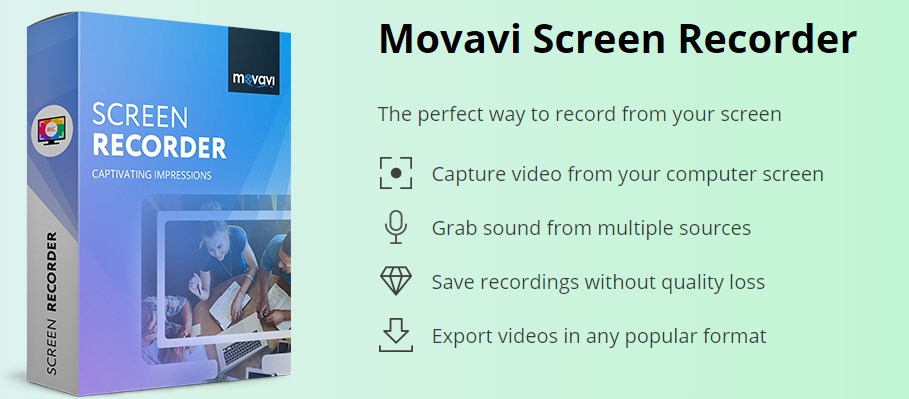
The Moavi Screen Recorder is an excellent screencast application that allows you to extract and download video from any website. It has the ability to:
- Record any kind of video or audio online.
- Grab audio from multiple sources.
- Cut out unwanted parts.
- Convert videos in any format without loss of quality.
NB: Make a Movie Trailer with Movavi Video Editor
Useful tip for users:
There are some shortcut keys to control the recording process for both Windows and Mac users-
Windows users:
- F10– start and stop.
- F9– pause and resume.
Mac users:
- ⌥ ⌘ 2 – start & stop.
- ⌥ ⌘ 1- pause & resume.
Conclusion
So that’s how to record live webinars or any onscreen video with Movavi screen video recorder.
Have you used it before? Let me know in the comment box.
Comments are closed.