Have you changed the default gravatar (Globally Recognized Avatar) of your WordPress blog? Sometimes we just are lazy and refuse to think. That makes us look like others.
Trying as much as possible to give our blogs a custom and personal look is what bloggers should consider to do today. It doesn’t feel well to look like every other blog that runs on the same premium or free template as yours.
There are, as a matter of fact many things to do to look different and stand out. One of the things I recommend is change the default wordpress gravatar to something more personal and unique.
Many of your readers and commentators will always not have a gravatar. So I think having your own image, possibly your logo show up is a step towards making your blog look pro.
![]()
Doing this is quite simple but if after reading this post you think it’s still not your thing to mess around your WordPress blog function file, contact me so we see how it can be done.
Steps to change your Wordpress default gravatar
- Get the image you want to use ready (png,gif,jpg). I got mind set to 82×82 in pixels. I don’t know if there is any specific size requirement but this worked for me. Avoid using your picture. This will conflict between your own comments and those of the faceless visiting commentators
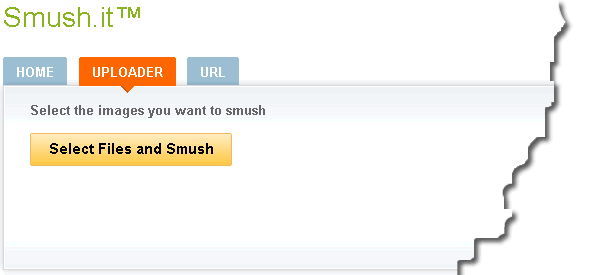
- Smush It! What this does is ‘losslessly’ reduce the size of your image. I do recommend you do this so this image will not add more weight to your blog. Go to SmushIt.com and upload the file to compress.
- Using an ftp application or your cPanel, uploaded the compressed image to the image directory of your template.
FTP applications and computer programs that help you upload files to your server. Commonly used free ftp apps are FileZilla and fireftp, a Firefox browser addon. These are all very easy to us
- Now you have your image ready on your blog. The next thing to do is get it on the gravatar list and marked as default. Just copy the following PHP Code to the functions.php file of your active template. Don’t worry! I’ll show you how and where it is located…
add_filter( ‘avatar_defaults’, ‘newgravatar’ );
function newgravatar ($avatar_defaults) {
$myavatar = get_bloginfo(‘template_directory’) . ‘/images/gravatarfilename.jpg’;
$avatar_defaults[$myavatar] = “GravatarName”;
return $avatar_defaults;
}
Where is the function file located?
- Point to “Appearance“
- Click “Editor“
![]()
In the image below!
- Be sure to select the right theme in the list. This should be the active theme of your blog
- Click the function.php file
- Copy the php code above and past preferably at the bottom of the file
- Click ‘Update File’ to save changes.
- That’s it
![]()
Editing the PHP snippet
There are two things you must do to get this piece of code to work
1 – Change the file name from gravatarfilename.jpg to your own file name. This file must be uploaded to the image folder of your active theme.
NB: For those running on Genesis Framework and child theme, I have found this to work uploading the image to the genesis theme folder. That means, which ever child you are using, upload the image file to the ‘image’ sub-folder of ‘genesis’ . Don’t upload to the child theme.*
2 – Change the $avatar_defaults[$myavatar] value from GravatarName to any name of your choice. That’s the name that shows up on the gravatar list on your Settings->Discussion page.
If you are still not sure how to go about with this, contact me to set it up for you. Think of giving your blog a personal touch as a factor in distinguishing your blog from others.
That’s it! Let me hear what you think in the comment box. Do share this post on social media to help others too.
Comments are closed.