In an increasingly virtual world, our professional and personal lives often find a digital stage via webcams. Whether you’re hosting a webinar, attending virtual meetings, livestreaming, or recording a YouTube video, having clear, well-lit footage can make a world of difference. Poor lighting or bad camera positioning can diminish your credibility and distract your audience. Fortunately, with a few simple adjustments and tools, you can upgrade your webcam performance significantly. Let’s explore some of the best tips for improving your webcam lighting and placement.
Why Lighting Matters for Webcam Quality
Your webcam’s sensor isn’t as powerful as a professional camera, meaning it relies more heavily on good lighting to capture a clear and crisp image. Without sufficient lighting, even the most expensive webcam will produce grainy, dull, or shadowy video. With thoughtful lighting, however, you can:
- Create a flattering image by minimizing dark circles, shadows, or harsh textures.
- Enhance visual clarity so you’re more engaging and easier to see.
- Project professionalism in virtual interviews and online conferences.
Best Lighting Tips for Your Webcam Setup
1. Use Natural Light When Possible
Natural light is free, flattering, and easy to access. Position yourself facing a window with diffused daylight to cast an even light over your face. Avoid placing your back to the window, as it creates a silhouette effect that darkens your face.
If the sunlight is too harsh or direct, use sheer curtains to soften it. Morning and late afternoon sunlight tends to be warmer and less intense, making it ideal for natural lighting setups.
2. Use a Ring Light or LED Panel
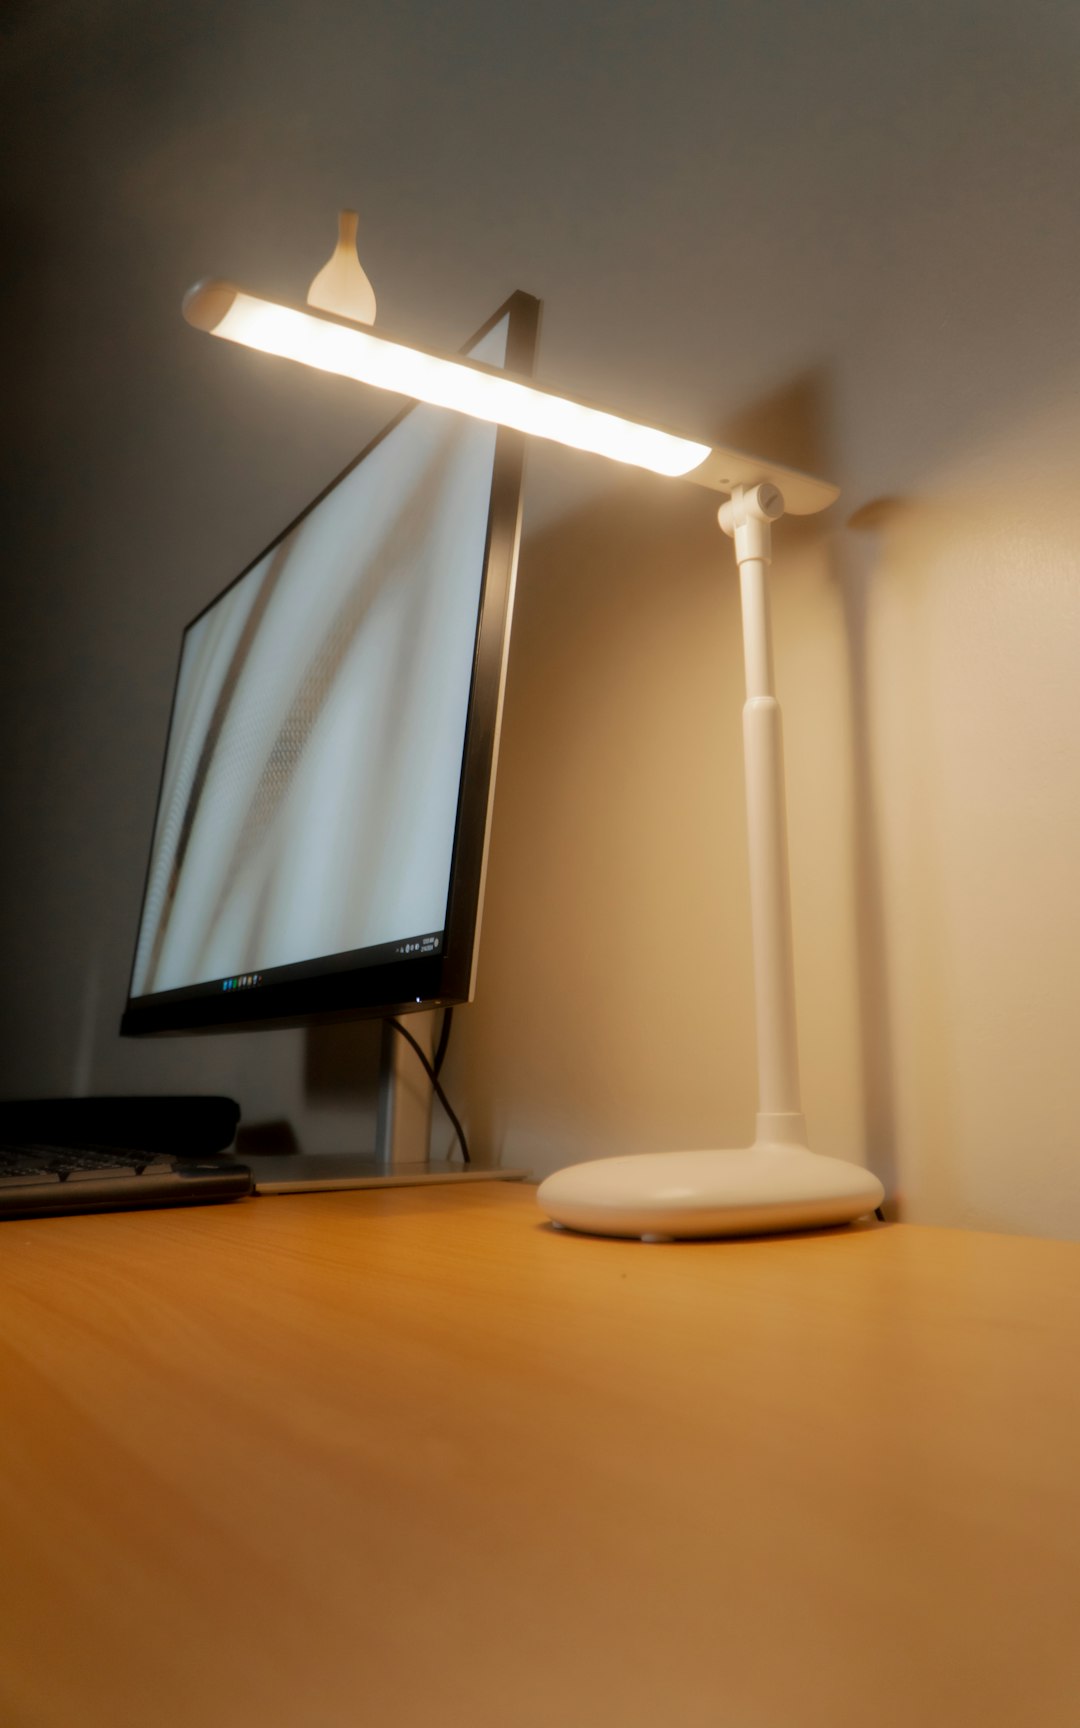
When natural light isn’t an option, LED lighting tools can help. Ring lights, in particular, are popular among streamers and content creators for their balanced, shadow-reducing effect that surrounds the face with soft light.
Alternatively, LED panel lights offer more control over intensity and color temperature, making them great for fine-tuning your lighting. Place the light slightly above eye level and just in front of your face for best results.

3. Avoid Overhead or Backlighting
Ceiling lights or lamps placed behind you can cast unflattering shadows, create glare, and cause the camera to expose the scene incorrectly, making your face appear too dark. Turn off overhead lights if they cause these issues and rely on diffused frontal lighting instead.
4. Adjust Your White Balance Settings
If you look too blue or orange on camera, your webcam’s white balance settings may be off. Many webcams automatically adjust this, but if you use professional video-conferencing apps or webcam software, you can manually tweak the color temperature to match your lighting.
Try to keep your color temperature consistent by using lights of the same type — all daylight (around 5600K) or all warm (around 3200K) — to maintain a balanced image.
Correct Webcam Placement
Lighting is only half the equation. Where and how you position your webcam can drastically impact how you’re perceived on screen. With poor placement, even the best lighting setup won’t look as professional as it could.
1. Position the Camera at Eye Level
One of the most important webcam placement principles is to keep the lens at eye level. This creates a more direct and natural viewpoint, improves engagement, and avoids awkward angles.
Avoid looking down or up at the camera. Looking up can be unflattering and inadvertently expose ceilings or light fixtures, while looking down can appear condescending and may emphasize features like your forehead or nose.

2. Maintain Proper Distance
Sitting too close to the camera can distort your features; sitting too far away may make it hard for viewers to read your facial expressions. The ideal framing for your webcam is a “medium close-up”: from the center of your chest to just above your head.
Ensure there’s a bit of space between the top of your head and the frame edge. You don’t want to crowd the image or appear cut off. This helps maintain a professional and polished appearance on screen.
3. Use a Tripod or Monitor Mount
If you’re using an external webcam, mounting it on a tripod or at the top of your monitor helps stabilize the camera and ensures consistent placement. Some webcams have adjustable clamps, but a tripod offers more flexibility in finding the right angle and distance.
4. Mind Your Background
A cluttered or messy background can distract viewers and reduce your credibility. Aim for a clean, simple backdrop or a softly blurred background if your camera supports it. Alternatively, you can use a virtual background, but make sure there’s adequate lighting and contrast to avoid distortion or glitches.
Lighting plays a big role here too. If your background is lit evenly, it will appear cleaner and more professional on camera.
Bonus Tips for a Professional-Looking Webcam Feed
Combining proper lighting and camera placement with these little enhancements can elevate your video calls and recordings to the next level:
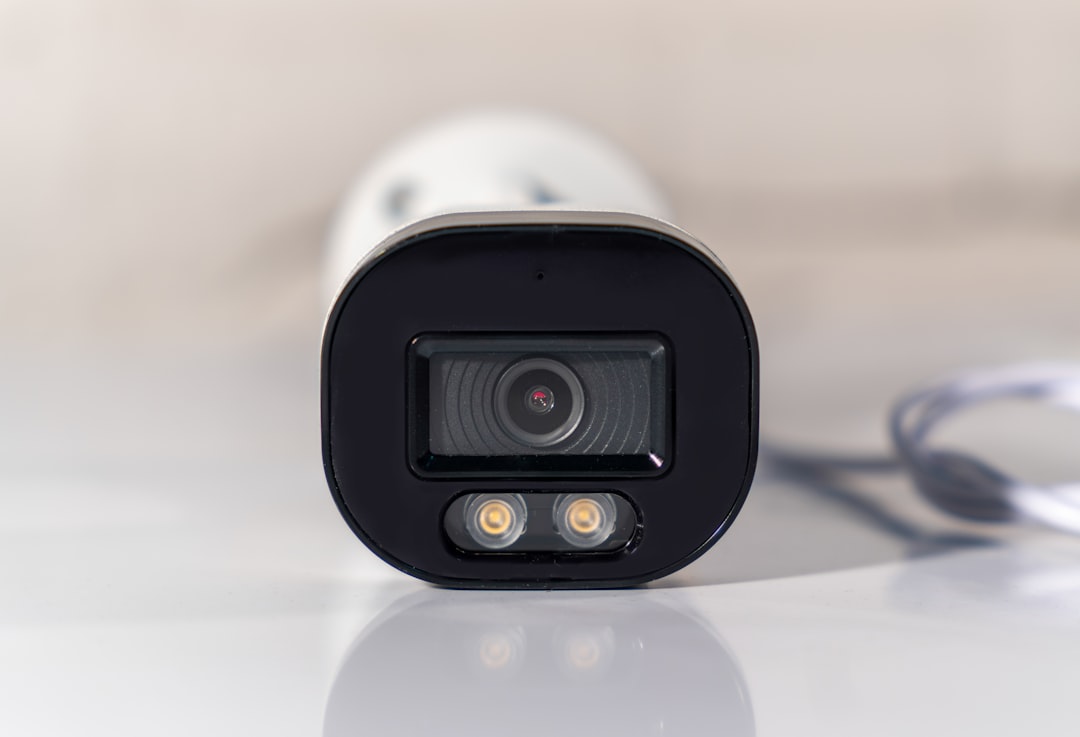
- Use an External Webcam: Built-in laptop webcams are usually lower quality. External webcams offer better resolution, frame rates, and flexibility.
- Center Yourself: Make sure you’re in the center of the frame and maintain good posture. This makes you look more alert and confident.
- Test Before Going Live: Open a video call window to check lighting, framing, and audio levels. Small tweaks can greatly improve your visuals.
- Consider a Key-Light, Fill-Light Setup: Advanced users and content creators can employ a three-point lighting system — a main light, fill light to reduce shadows, and a backlight to separate you from the background.

In Summary
Creating a high-quality webcam setup isn’t about investing thousands of dollars. It’s about understanding how light, angles, and background work together to enhance your clarity and communication. Remember:
- Face a light source or use LED/ring lights.
- Keep your webcam at eye level for a natural appearance.
- Frame yourself properly and remove background distractions.
- Balance your light sources and double-check white balance settings.
With a thoughtful approach and some experimentation, you can transform your webcam presence and make a lasting impression — whether you’re leading a meeting from your home office or broadcasting to an international audience.
