Cooking is a true passion of quite a few, the author of this article included. Many people take great pleasure in it and always seek to further their skills in the field. First, it was your grandma or mom teaching you to cook. Then came cookbooks and TV shows that provided detailed step-by-step guides from professionals and creative enthusiasts alike.
One pro that came with this was certainly that you got to see the process in full detail. Not to mention that you also got to learn about new foods and spices you perhaps never even heard of before.
As we all know, hobbies and interests create communities of like-minded people, and cooking is no different. So, what better way to broaden your horizons and join a community that shares your passion than to start a food blog. Not only can you use it to post detailed step-by-step tutorials and tips, but you can also very easily engage with your audience through comments and learn a thing or two from them.
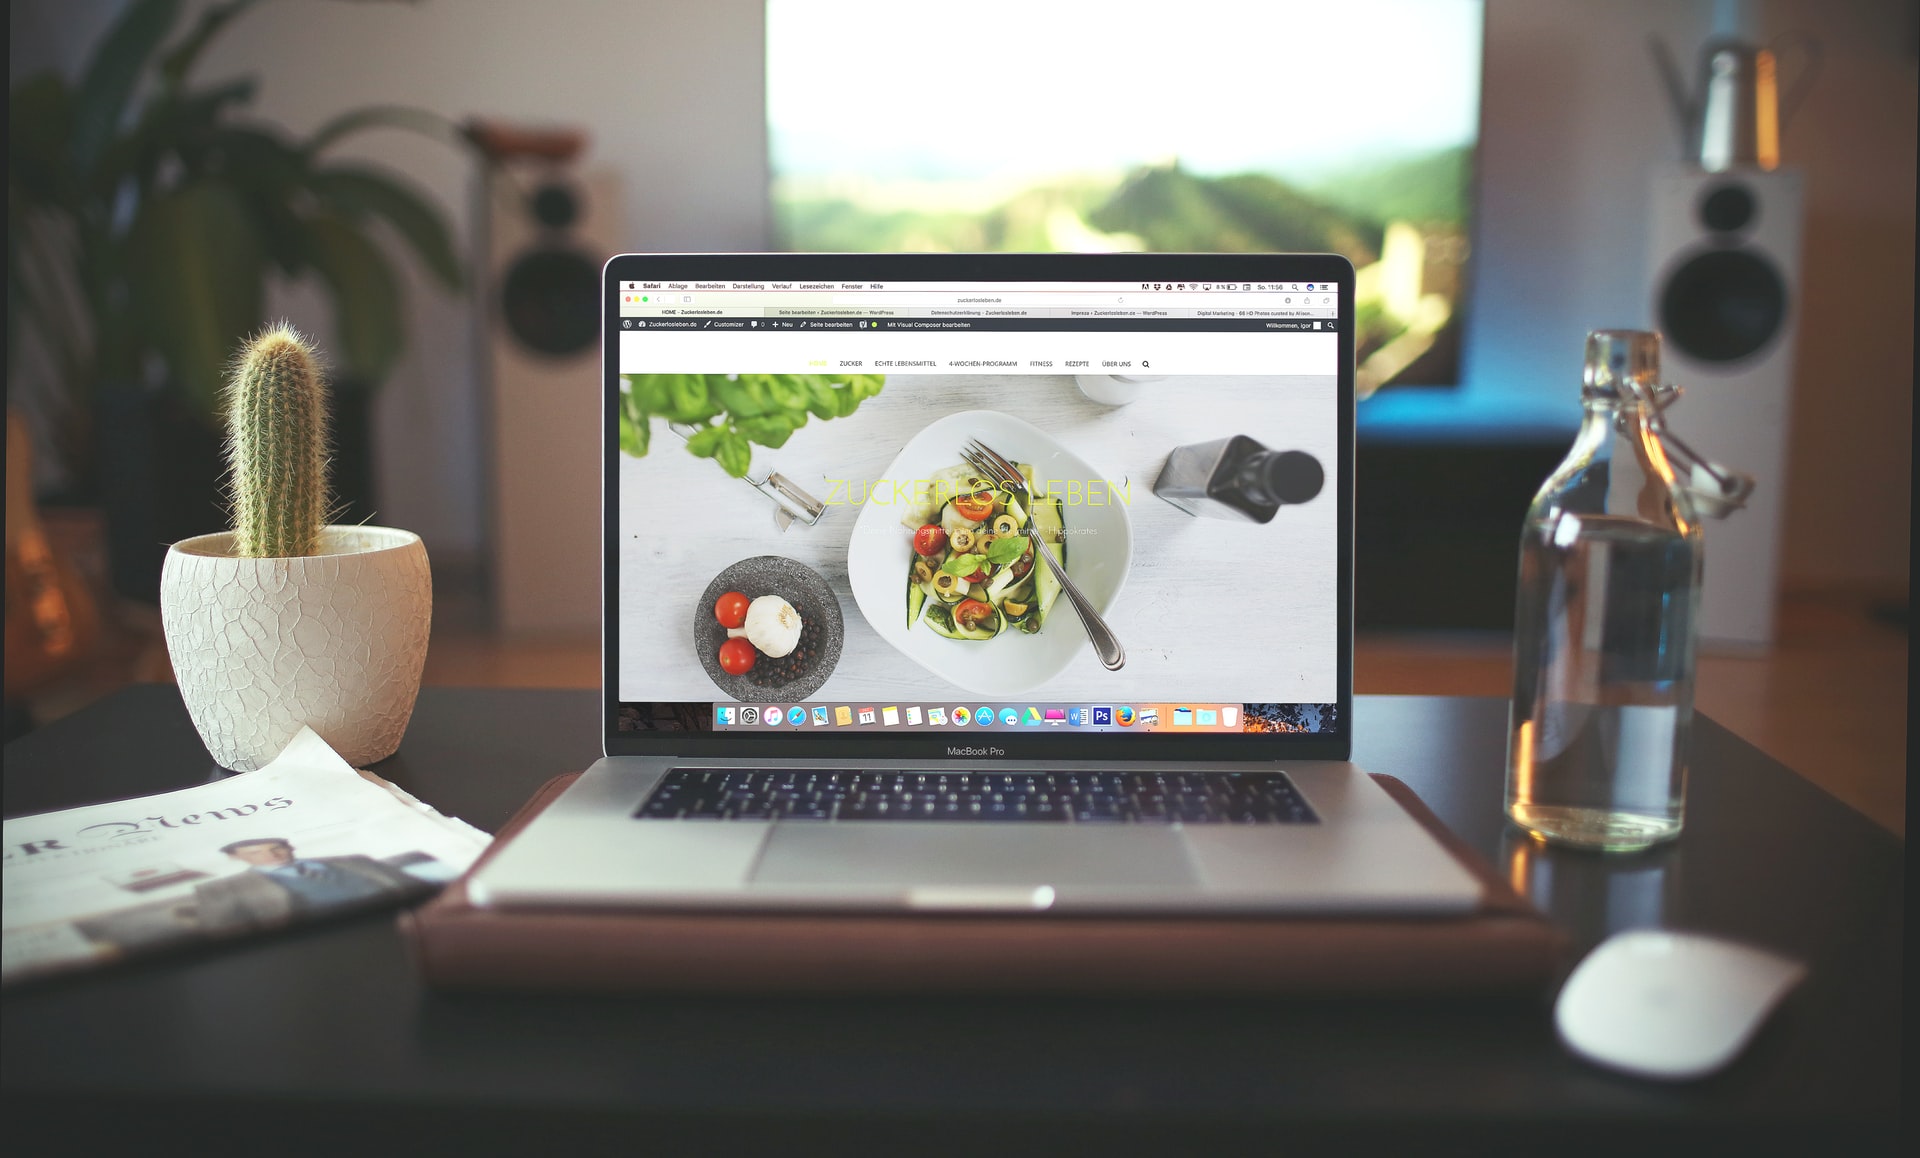
That’s why in this article, we’ll be showing you how to create the perfect food blog in WordPress using the Yummy Recipe theme by Blossom Themes. There are, of course, plenty more themes out there you could use, but this one is very practical, looks stunning, and you can do so much with it even when using its free version only.
To give you actual evidence of this theme’s potential, here’s what you can create in just under 2 hours with it!
For this tutorial, we’ll be using only the free version, but if you happen to like this theme as much as we do, feel free to spice things up with some premium features from its PRO version.
How to Create a WordPress Food Blog With the Blossom Yummy Recipe Theme
Installation and Setup (+ Plugins)
Naturally, the first thing you’ll have to do is download and set up the theme in your WordPress dashboard. In case you have no experience in creating a blog, don’t worry. It’s really simple, and we’ll guide you through every step of the way.
The first step is to download the theme itself. All you have to do is download the theme in a ZIP file and add it to your WordPress website. After the download is complete, navigate to “Appearance” and click on “Themes”. There is a button in the top left of your screen that says “Add New”. Click on that, add your ZIP file, press “Install Now”, and voila! You got it!
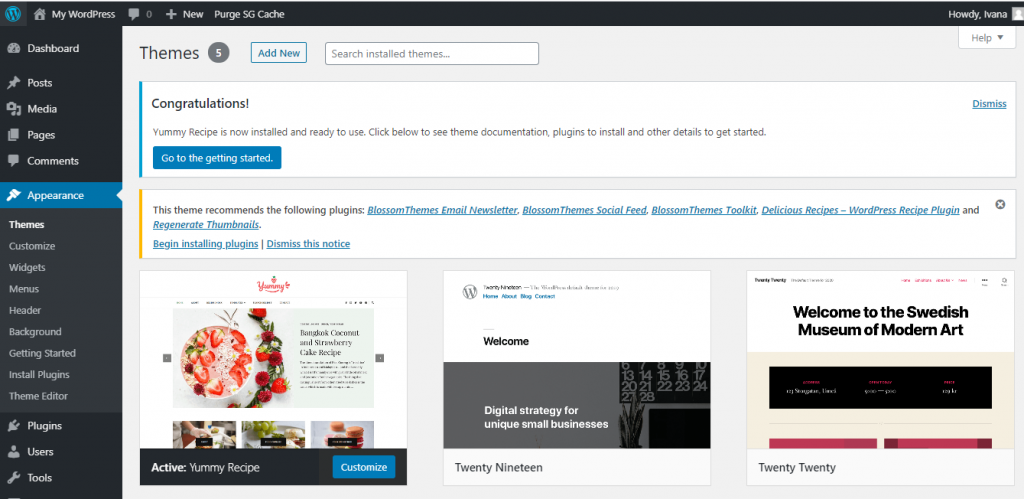
After you have the theme, go ahead and click on “Go to the getting started”. This should open up a window containing basic information about the theme, FAQs, the option to upgrade to PRO, and a list of free recommended plugins you should download to truly make your blog top-notch.
It would probably be wise to mention here that it’s best you read the guide and the manual for each theme you plan on using, this one included. Every theme is different, so it’s always better to be prepared and read all the documentation provided.
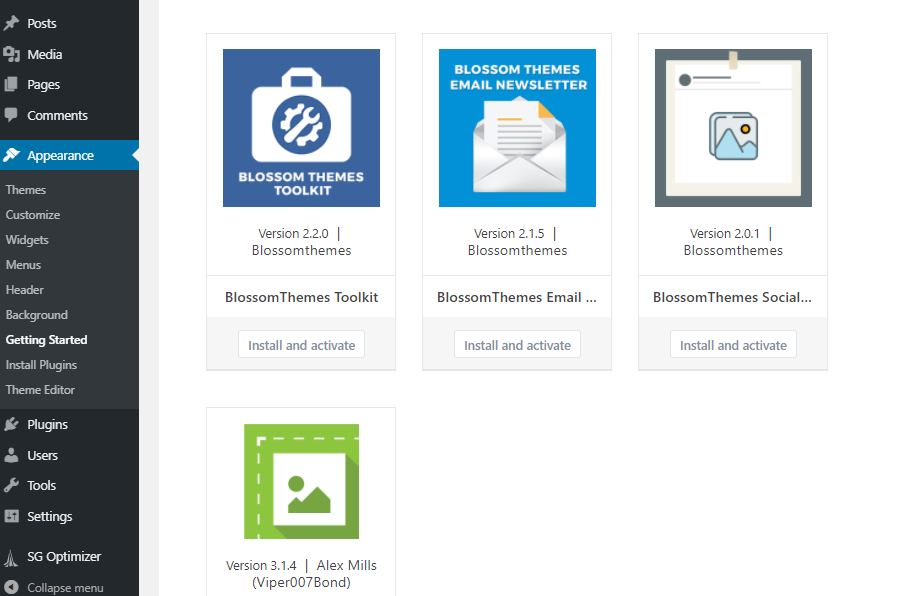
The plugins shown above are those recommended to be used with the Yummy Recipe theme. Install and activate all of the plugins on the list, and soon they should all appear in your “Plugin” tab once you open it or on the side of your dashboard.
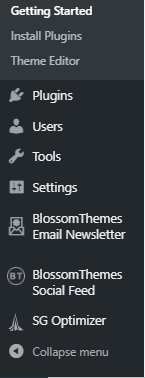
You can just activate them and leave them as they are. However, it is recommended that you take a look at their settings, as that can provide you with further customization options and some features you didn’t even know were there. For instance, the BlossomThemes Email Newsletter plugin should be connected to your Instagram account to truly make your newsletter what it should be. And, you should do the same with the BlossomThemes Social Feed plugin.
The SG Optimizer plugin is also worth having a look at as it optimizes the font, which is something you’ll need to do if you want your blog to be a success.
But, let’s move on to getting to know the theme itself and how to customize it according to your wishes.
Settings and Customization
Your blog doesn’t look all that great upon first installing the theme. That’s why we need to customize it. In particular, when it comes to this theme, there is no theme customizer, and everything you plan on changing needs to be done through the Visual Editor. This is indeed the better option if you ask me, as everything you change on your blog is visible in real-time. That way, you can see exactly what you’re doing and decide if you like it or not right on the spot. It makes everything so much faster and simpler. And who doesn’t want that?
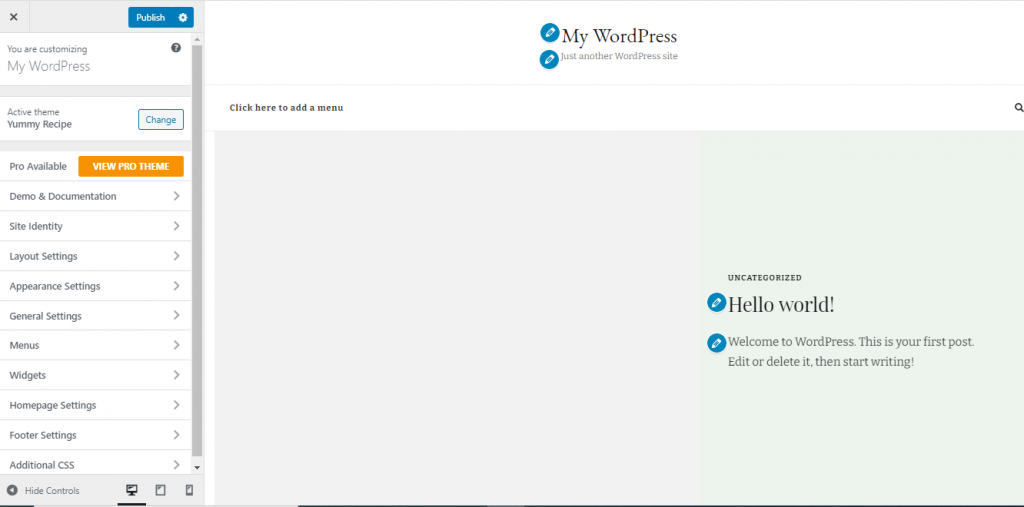
To start customizing, navigate back to “Themes” in the “Appearance” tab, hover over the Yummy Recipe theme, and click on “Customize”. Soon enough, you should see what is shown in the screenshot below. In case you want to speed up the customization process as much as possible, you could opt for the PRO version of the theme right from the start, as it allows for one-click demo imports. These speed up the process rather significantly.
Now, in case you don’t have much experience in creating a blog, let me tell you, this is where you can truly let loose and create whatever you’d like, no matter how simple or complicated it may be. So, take your time and enjoy what you’re doing. The journey is always more fun than the destination. Things are looking a little drab at the moment, but we’ll change that soon enough.
On the left side of the screen, you’ll see all the available options in the toolbar. A great thing about the Visual Editor is that you’ll be able to see three different screen size options in the bottom left corner. This way, you can see what your site will look like on any screen, as well as make sure it’s fully responsive and looks great on all devices. Responsiveness really is a must nowadays, so don’t forget it.
Let’s do a quick rundown of everything in the toolbar in order to make sure you won’t face any difficulties as we move on.
Pro Available – This section takes you back to the Blossom Themes website and compares the free and the Pro version of this theme, so if you wish, you can upgrade to the PRO version.
Demo & Documentation – Through this section, you’ll be able to find all the documentation about the theme on its official page and see a demo of a finished site if you happen to need some inspiration. If you don’t have many ideas on what to do customization-wise, we recommend spending some time scrolling through the demo and thinking about what you like and dislike about it. The demo site is handy, and you can make use of it, especially if you’re more of a beginner.
Site Identity – This is where the fun part actually begins. The first option that comes up is to upload your logo, that is, if you have one, of course. If not, feel free to pause and take some time to create one. After that comes picking a “Site Title” and entering a catchy tag line. While the tag line is not necessary, having one might make your site more memorable. For that reason, do think about including one. There are also options to chose a font, its size, and color for the title (changing the font size is something available only in the theme’s PRO version).
Layout Settings – Here, you’ll find multiple settings concerning your page’s layout, such as Header Layout, Homepage Layout, Slider Layout, and General Sidebar Layout. All of them are pretty self-explanatory so, there’s no need to discuss much. However, we would like to mention that the Homepage Layout setting is probably the most important one since much of your page’s appearance depends on it.
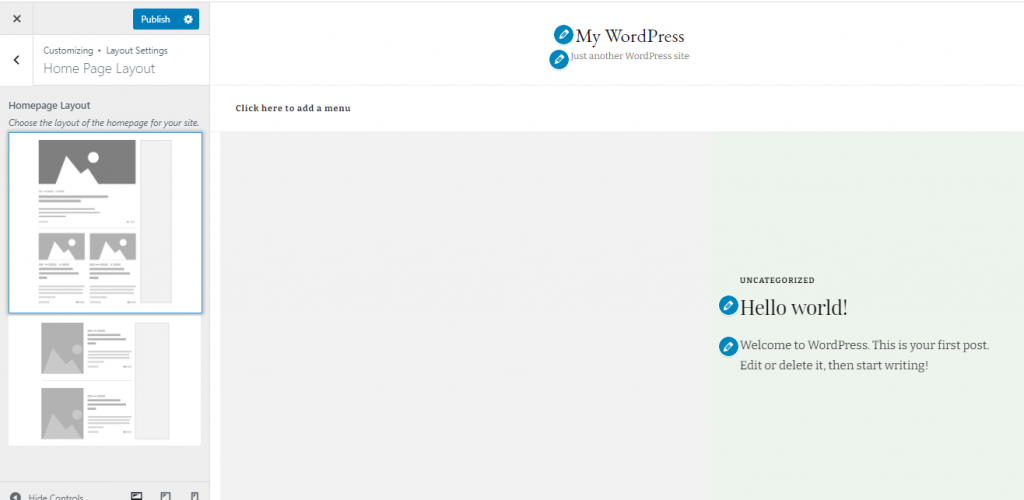
It is also worth noting that making a sticky header and customizing the sidebar are both premium features. So, if you want to have those, upgrading will be necessary.
Appearance Settings – This is where you’ll get to pick background colors, background images, and typography settings (primary font, secondary font, and size).
General Settings – Under this particular section, you’ll find options to create a banner (limited control options in the free version), configure your social media settings (enable or disable links, and connect your socials), SEO settings, blog and page settings, newsletter settings, Instagram settings, misc. settings, and the featured area. If you need more control over social media, and sharing, you can always utilize other tools like gb whatsapp that improves the popular app and allows you to share links with your friends.
The featured area, regardless of how useful and attention-grabbing it may be, is a PRO feature only. So is the option to create a Popular Posts section.
Menus – Simple and straightforward. This section gives you the option to create or add a menu (limited in the free version).
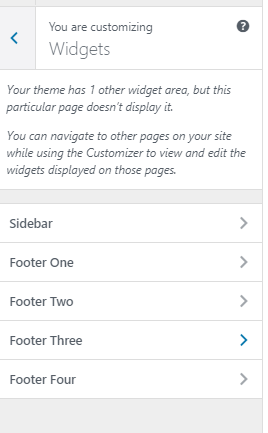
Widgets – Widgets can be added in any of the 4 footers or the sidebar. You don’t actually need to add any. However, they are quite useful (with the PRO version, you can make them sticky as well).
Homepage Settings – Choose whether you want to have a static homepage (aka a site that’s always the same) or if you want your latest post to be displayed there. If you happen to be good at design, a static homepage is definitely worth a thought.
Footer Settings – Through this section, you are free to add a footer copyright text. In case you are not sure what that is, here are some examples; “© Copyright 2021” or “All Rights Reserved My Cooking Blog”.
Additional CSS – If you are a beginner and have no coding experience, you probably won’t be touching this part at all. But if you have knowledge of coding and want to spice things up a little, feel free to do so.
Customizing the Theme and Creating a Great Blog
All of the sections we previously mentioned can also be edited visually via the drag-and-drop editor. Considering we are creating a food blog, we’ll probably have more than just recipes on there, so let’s try customizing our new blog.
The first thing you should do is customize the site’s identity, give it a name, a catchphrase and truly make it pop. To start this process, you can either click on “Site Title” on the example page or find it in the toolbar.
After that, we’ll need to add a background image or color that best suits our theme. We recommend you find something that tickles your fancy either on Depositphotos, Unsplash, Yay Images, or Pixabay.
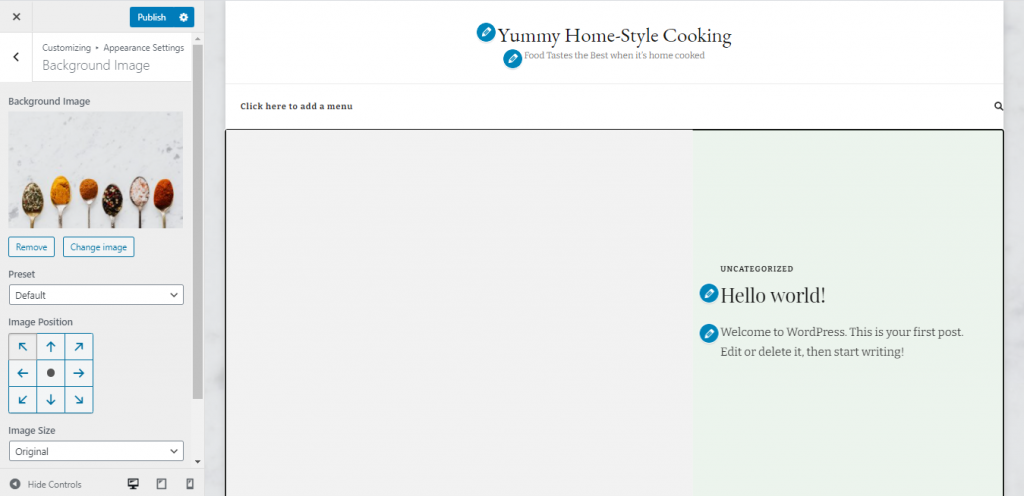
Pick an image that you like and download it. After that, go to the background image settings in “Appearance Layout” and upload your image. Make sure to change the name of the image when uploading it so you know how to find it later on.
If you change your mind at some point and no longer like the background, it’s actually super easy to change. It works pretty much the same as adding an image to a regular WP post.
When you add the basics, it should all look something like this.
Moving on, let’s create a menu for our new blog. The process is the same as when you were adding the title. Either find the option on the page or navigate through the toolbar. This will take you back to the WordPress dashboard. From there, just create a simple menu and name it whatever you like.
Suppose you wish to add categories to the menu. You can find the option to do so under “Add Menu Items” -> “Categories”.
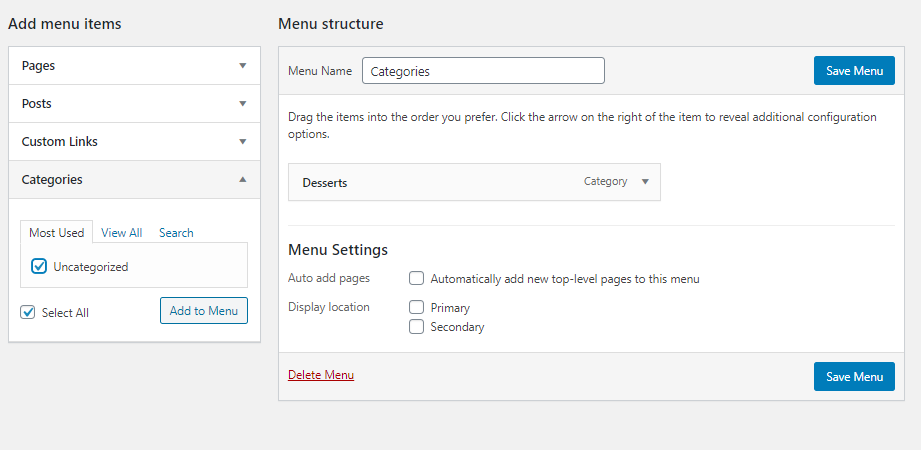
Select the “Uncategorized” option, and it should show up on your menu. To rename, just click on it and change its name to whatever fits this menu. You can also do this directly in the editor.
When you’re happy with what you have in the menu, select whether you want it to be primary or secondary. We chose primary so that visitors can navigate through the different kinds of recipes more easily.
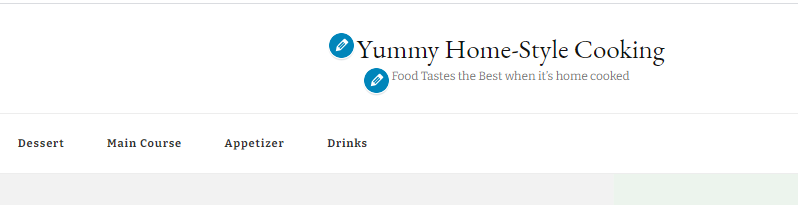
We’ve also created a secondary menu, placed it in the top left corner, and named it “About us”. We’re not going to make an “About Us” page right now. But the process is straightforward, so you don’t need to worry. Creating an “About Us” menu or page is just like creating any other type of page.
When it comes to adding widgets, you’ll once again be doing it in the WordPress dashboard. We wouldn’t recommend you go overboard with this as many people might find it annoying.
There are so many widget options to choose from. However, it is necessary to mention that many of the options listed below are reserved for the PRO version – for instance, the call to action widget.
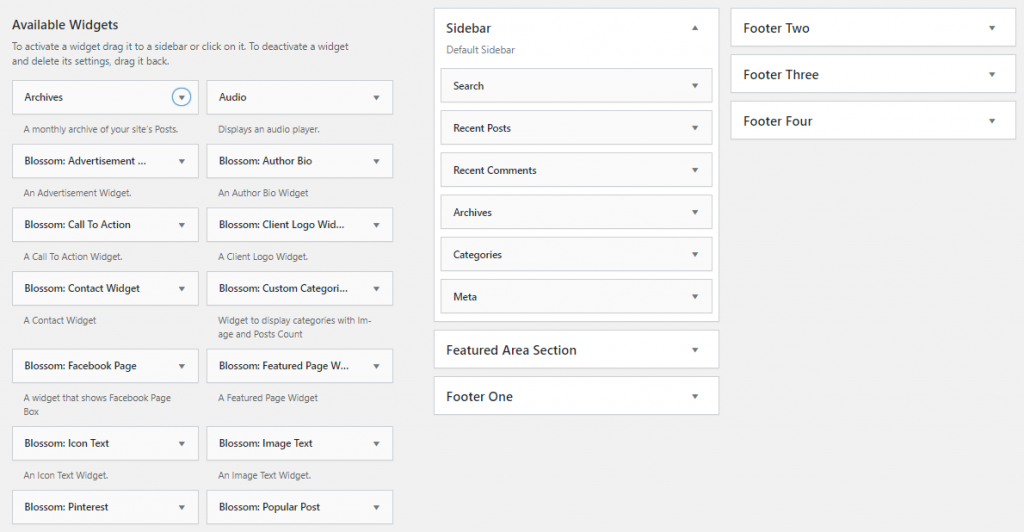
This step is pretty self-explanatory, so we won’t get into too many details. All you have to do is select the widget you want and where you’ll be putting it (sidebar, footer, featured area, etc.), and click on “Add Widget”. If you have the theme’s PRO version, you’ll be able to put them in the featured area. Otherwise, that won’t be possible.
Next, we went back to “Appearances” and changed the colors according to what looked better on the page. We also added copyright text in the footer and rearranged the layout of the site. After playing around in the editor for a bit longer and making a few more tweaks regarding fonts and header options, we ended up with this.

This is an empty page, without any posts on it at all. This is simply here to show you the layout and the colors. To get an idea of what everything is going to look like once it’s done. Of course, you don’t have to do this the same way we did. Feel free to let your imagination run wild and explore your options. There is so much you can do with this theme.
Once you’ve finished everything and are happy with your creation, publish your blog and get ready to post. And if you happen to change your mind about any of the design decisions you have made, there’s no need to worry. It’s just as easy to change them later on.
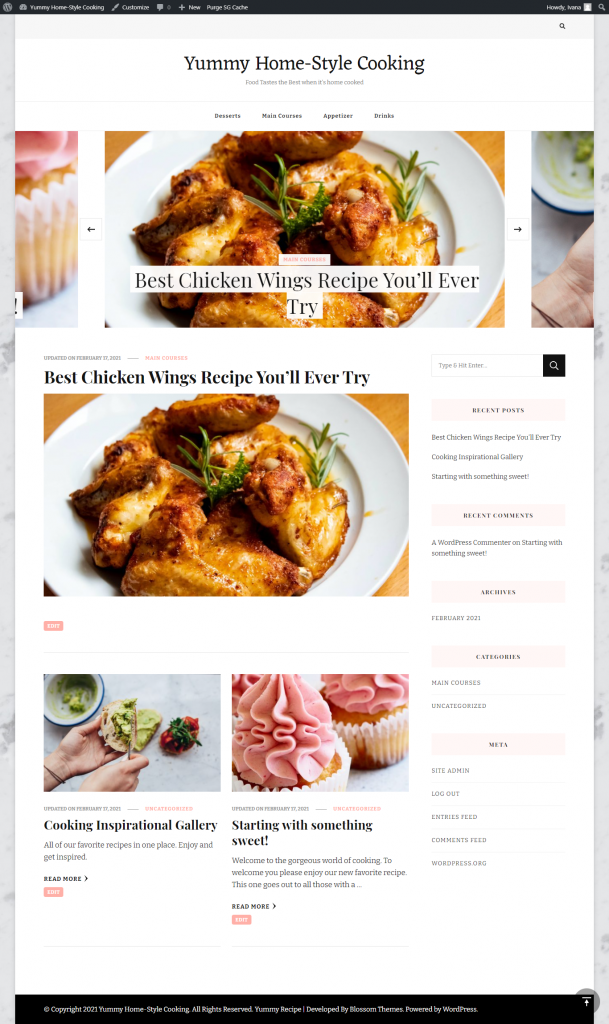
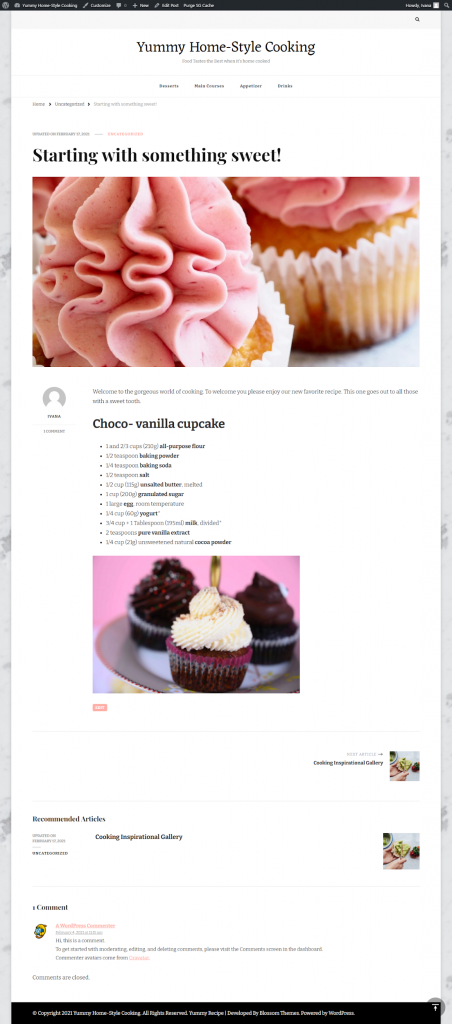
After the basic design was finished, it was time to start posting and see our blog’s layout in action. The first thing we decided to post was a delicious cupcake recipe.
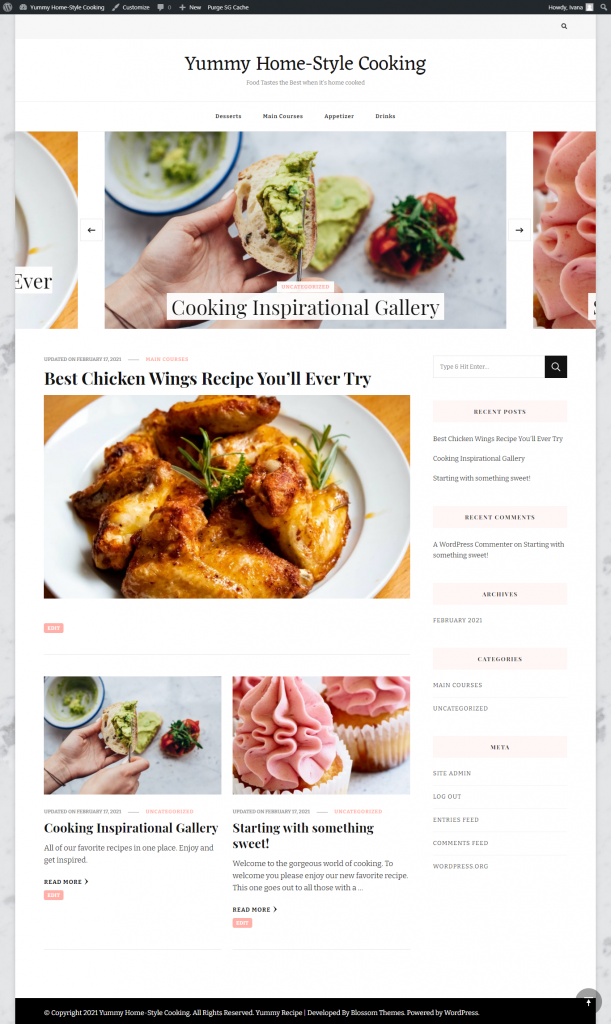
We added a few more posts onto the site and decided that it still needed some work. So, we went back into the editor and played around with it a bit more. And this ended up being the finished product. Take a look at what the Yummy Home-Style Cooking blog looks like.
TLDR:
- Download the Yummy Recipe theme from Blossom Themes in the form of a ZIP file.
- In the WordPress dashboard, go to “Appearance”, then to “Themes”, click on “Add New”, and begin the installation.
- Select “Go to the getting started” and install all the recommended plugins, check out their settings, and set everything up according to preferences.
- Enter the Visual Editor and set up your perfect blog.
- Publish the blog and start writing.
Final Thoughts
The Yummy Recipe WordPress theme by Blossom Themes is rather versatile and super easy to work with. Even its free version has plenty of customization options that can help anyone create the blog of their dreams.
However, if you want the additional features that come in the PRO version, start thinking about upgrading now. Even if you don’t need it initially, it’s a good investment for when your blog grows and attracts more followers.
Hopefully, you found this article helpful and are now fully equipped to build your dream blog. If you have any other questions and inquiries, feel free to leave a comment.
Comments are closed.