An Onkyo receiver is often the heart of a home theater system, powering speakers and delivering immersive audio for movies, music, and games. When the sound suddenly stops working, it can be frustrating and confusing—especially if everything appears to be connected correctly. Fortunately, most Onkyo receiver sound issues can be traced to a few common causes and resolved with systematic troubleshooting.
TLDR: If an Onkyo receiver has no sound, start by checking speaker connections, input settings, and mute or volume levels. Inspect HDMI, optical, and speaker cables for damage or loose connections. Reset the receiver or update firmware if software glitches are suspected. In many cases, the problem is a simple configuration or connection issue rather than hardware failure.
Common Reasons an Onkyo Receiver Has No Sound
When troubleshooting a silent receiver, it helps to understand the most common root causes. These typically fall into four categories: connection problems, incorrect settings, source device issues, or internal hardware faults.
- Loose or damaged cables
- Incorrect input source selected
- Muted audio or low volume level
- Audio output settings misconfigured on the source device
- Speaker wiring faults
- Firmware or software glitches
Before assuming the receiver itself is defective, it is important to methodically check each of these possibilities.
Step 1: Check Basic Receiver Settings
The first step is always verifying basic functionality. While it may sound obvious, simple oversights are often the culprit.
- Ensure the receiver is powered on and not in standby mode.
- Raise the volume gradually to confirm it is not set too low.
- Check that the Mute function is not enabled.
- Confirm the correct input source (e.g., HDMI1, TV, BD/DVD, AUX) is selected.
Some Onkyo models assign audio inputs independently from video inputs. If the video appears but there is no sound, the audio input may need reassignment in the settings menu.
Image not found in postmetaStep 2: Inspect Speaker Connections
Speaker wiring issues are a common cause of sound problems. Even a slightly loose wire can interrupt the signal.
To properly inspect wiring:
- Turn off and unplug the receiver.
- Check each speaker terminal for tight connections.
- Ensure no stray wire strands are touching adjacent terminals.
- Verify correct polarity (positive to positive, negative to negative).
If possible, test with a single known-working speaker. Connecting just one speaker to the front left channel can help determine whether the issue lies with multiple speakers or the receiver itself.
Tip: If the receiver goes into protection mode, it may display a warning or shut off automatically. This often indicates shorted speaker wires or impedance issues.
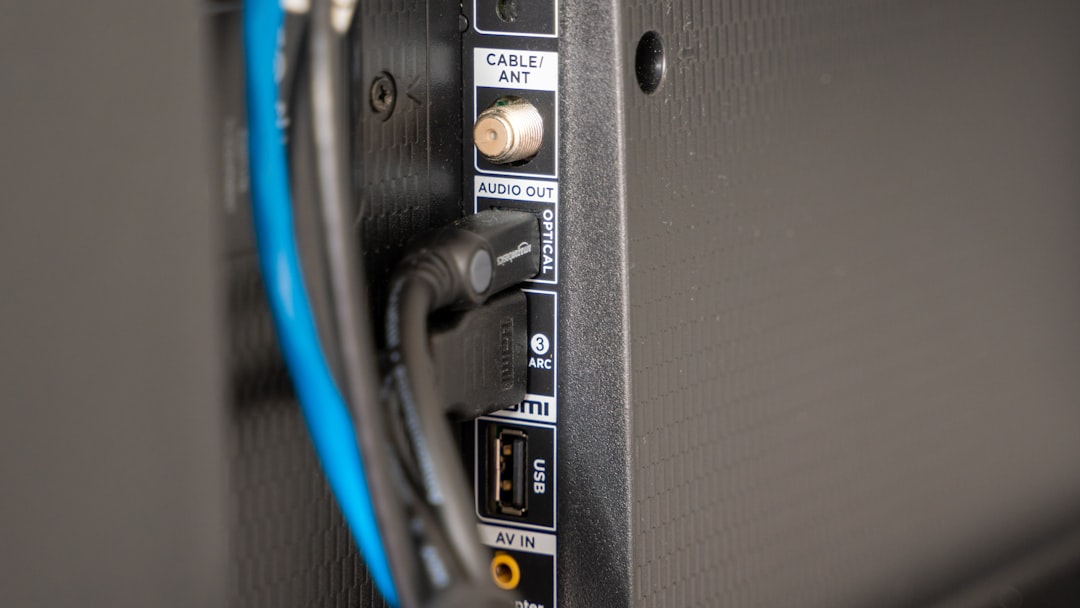
Step 3: Examine HDMI and Audio Cables
HDMI cables are essential for transmitting both video and audio signals. If the picture works but there is no sound, the issue may involve HDMI settings or cable faults.
- Unplug and firmly reconnect HDMI cables.
- Try a different HDMI cable.
- Test a different HDMI input on the receiver.
- Ensure the TV’s audio output is set correctly (ARC or eARC if applicable).
If using optical (TOSLINK) or coaxial digital audio, verify that the cable is securely inserted and assigned to the correct input in the receiver’s setup menu.
Step 4: Check Audio Settings on the Source Device
Sometimes the issue is not with the receiver at all, but with the connected device such as a Blu-ray player, gaming console, cable box, or streaming device.
The source device should be configured to output compatible audio formats. In many cases, setting the audio output to Bitstream or PCM resolves conflicts.
For example:
- On gaming consoles, ensure HDMI audio is enabled.
- On TVs, set audio output to “External Speakers” or “Audio System.”
- Disable TV internal speakers when using ARC/eARC.
If troubleshooting ARC (Audio Return Channel), confirm both the TV and receiver support ARC and that it is enabled in both devices’ menus.
Step 5: Test Different Audio Modes
Onkyo receivers offer multiple listening modes, such as Direct, Stereo, Dolby Surround, and DTS. Occasionally, an incompatible or incorrectly selected mode can lead to no sound output.
Switch through several listening modes using the remote and observe whether audio returns. The Stereo or Direct mode is often the simplest and most reliable for testing.
Step 6: Perform a Receiver Reset
If configuration errors are suspected, resetting the receiver may clear corrupted settings.
Most Onkyo receivers can be reset by:
- Turning the receiver off.
- Holding down the VCR/DVR or similar button (varies by model).
- Pressing the On/Standby button simultaneously.
This restores factory settings, so any custom configurations will need to be re-entered afterward.
Important: Refer to the model-specific manual before performing a reset, as button combinations differ.
Step 7: Update Firmware
Firmware updates fix known bugs and compatibility problems. If the receiver is connected to the internet, check for updates via the network settings menu.
Installing the latest firmware can resolve:
- HDMI handshake problems
- ARC connection instability
- Streaming audio dropouts
- Unexpected system crashes
Step 8: Rule Out Protection Mode or Hardware Failure
If the receiver powers on but produces no sound and frequently shuts down, it may be entering protection mode. This safety feature activates when:
- Speaker wires are shorted
- Internal components overheat
- Amplifier circuits detect abnormal voltage
Allow the receiver to cool for at least 30 minutes and ensure proper ventilation. Make sure there is sufficient space around the unit for airflow.
If no troubleshooting step restores sound, internal components such as amplifier boards or capacitors may have failed. In such cases, professional repair or authorized service is recommended.
When to Seek Professional Help
A trained technician should evaluate the receiver if:
- There is a burning smell.
- The unit shuts off immediately after turning on.
- No sound is produced even after factory reset and cable replacement.
- The display panel does not function correctly.
Attempting internal repairs without proper training can void warranties and pose electrical safety risks.
Preventing Future Audio Issues
To reduce the likelihood of sound problems:
- Use high-quality HDMI and speaker cables.
- Ensure proper ventilation to prevent overheating.
- Regularly check for firmware updates.
- Avoid overdriving speakers at extreme volume levels.
- Secure cables to prevent accidental disconnection.
Routine maintenance and careful setup significantly improve receiver longevity and reliability.
Frequently Asked Questions (FAQ)
1. Why does my Onkyo receiver turn on but have no sound?
This usually results from incorrect input selection, muted audio, HDMI handshake issues, or speaker wiring problems. Start by checking basic settings and cable connections.
2. How do I fix HDMI ARC not working on my Onkyo receiver?
Ensure ARC is enabled on both the TV and receiver, use a high-speed HDMI cable connected to the ARC-labeled ports, and set the TV audio output to an external system. A firmware update may also help.
3. What does protection mode mean on an Onkyo receiver?
Protection mode activates when the receiver detects a short circuit, overheating, or voltage anomaly. Check speaker wires for shorts and ensure adequate ventilation.
4. Can a factory reset fix sound problems?
Yes, a factory reset can resolve configuration errors or software glitches. However, it will erase custom settings, so they must be set up again afterward.
5. Why is there sound from some speakers but not others?
This may result from incorrect speaker configuration, level settings, damaged wires, or inactive surround modes. Verify speaker setup in the receiver’s settings menu.
6. Should I repair or replace my Onkyo receiver?
If the issue involves internal hardware and the unit is older, replacement may be more cost-effective. However, minor faults are often repairable by authorized service centers.
By following a structured troubleshooting approach, most Onkyo receiver sound problems can be diagnosed and resolved without extensive technical expertise. Careful inspection of connections, settings, and firmware usually restores full audio performance, allowing the home theater system to function as intended.