Chrome’s autofill feature is designed to make your life easier by automatically filling in personal information, such as your name, address, and payment details, whenever you’re filling out a form online. However, there are times when this feature doesn’t work as expected, leaving you to manually enter your details. If you’ve ever wondered why Chrome won’t autofill your name and address, you’re not alone. In this article, we’ll explore the common reasons behind this issue and how to get your autofill working smoothly again.
What is Chrome Autofill and Why Is It Useful?
Google Chrome’s autofill feature saves time by automatically entering your details into forms. Whether it’s a shipping address on an online shopping site or your contact information on a sign-up form, Chrome remembers your data and fills it in for you. This feature is not only convenient but helps prevent errors when filling out forms repeatedly.
When it works correctly, autofill can save you a lot of hassle, but when it doesn’t, it can be frustrating. Let’s take a closer look at why your autofill might not be working and how to fix it.
Common Reasons Why Chrome Won’t Autofill Name and Address
There are several reasons Chrome’s autofill feature might not work as expected. Below are the most common causes:
1. Autofill is Disabled in Chrome Settings
Chrome’s autofill function might be turned off, which means it won’t automatically fill in your information on any website. Sometimes, this setting can be accidentally changed or reset.
2. Missing or Outdated Profile Data
If your name, address, or other personal information hasn’t been saved correctly in Chrome, autofill won’t work. This could be due to missing data in your profile or outdated information that hasn’t been updated.
3. Corrupted Autofill Data
Over time, Chrome’s autofill data may get corrupted, preventing it from autofilling properly. This often happens if there are multiple saved addresses, payment methods, or profiles that are outdated or conflicting.
4. Browser Cache and Cookies Interference
Sometimes, the browser cache or cookies can interfere with Chrome’s autofill function. Old data may prevent Chrome from accessing the right autofill information.
Step-by-Step Guide to Fix Autofill Name and Address Issues in Chrome
Now that we know the common reasons for autofill problems, let’s go through the steps to get everything working again.
Step 1: Enable Autofill in Chrome Settings
If autofill isn’t working, the first thing to check is whether the feature is enabled.
- Open Google Chrome on your MacBook or PC.
- Click the three dots in the upper-right corner and select Settings.
- Scroll down to the Autofill section on the left sidebar and click Addresses and more.
- Toggle on the option for Save and fill addresses. If it’s already on, try turning it off and then back on again to reset the feature.
This will allow Chrome to start automatically filling in your saved addresses and contact information.
Step 2: Update or Clear Your Autofill Data
If your autofill information is outdated or incomplete, Chrome won’t be able to fill it in. To fix this, you can update or clear your saved autofill data.
- Open Google Chrome and go to Settings.
- Under the Autofill section, click on Addresses and more.
- Here, you’ll see a list of saved addresses. Check to see if your name and address are listed. If they are missing or incorrect, you can add or update the information by clicking Add address or editing existing entries.
- To clear outdated or incorrect data, simply click on the three dots next to an address and select Delete.
By making sure your data is accurate and up to date, Chrome will be able to autofill forms with the correct information.
Step 3: Ensure Your Google Account is Synced
If you’re signed into Chrome with your Google account, you can sync your autofill information across all devices. This ensures that no matter where you sign in, Chrome can autofill your name, address, and payment details.
To ensure syncing is enabled:
- Open Google Chrome.
- Click the three dots and go to Settings.
- Under You and Google, click Sync and Google services.
- Make sure Sync is turned on and that Autofill is included in the sync options.
If syncing is off, turn it on to ensure all of your autofill data is up to date and accessible across all your devices.
Step 4: Clear Browser Cache and Cookies
A corrupted cache or cookies can interfere with Chrome’s autofill feature. Here’s how to clear them:
- Open Chrome and click on the three dots in the top-right corner.
- Select More tools > Clear browsing data.
- Choose All time as the time range and check Cookies and other site data and Cached images and files.
- Click Clear data.
After clearing the cache and cookies, restart Chrome and check if autofill works.
Additional Tips to Ensure Autofill Works Perfectly
Now, let’s look at some additional tips that can help resolve any autofill issues you might be facing.
- Check for Chrome Updates: Make sure you’re using the latest version of Chrome. Updates often fix bugs related to autofill.
- To update, click the three dots > Help > About Google Chrome.
- Disable Conflicting Extensions: Some browser extensions can interfere with autofill. Try disabling extensions one by one to see if any are causing the issue. Go to Settings > Extensions and disable them temporarily.
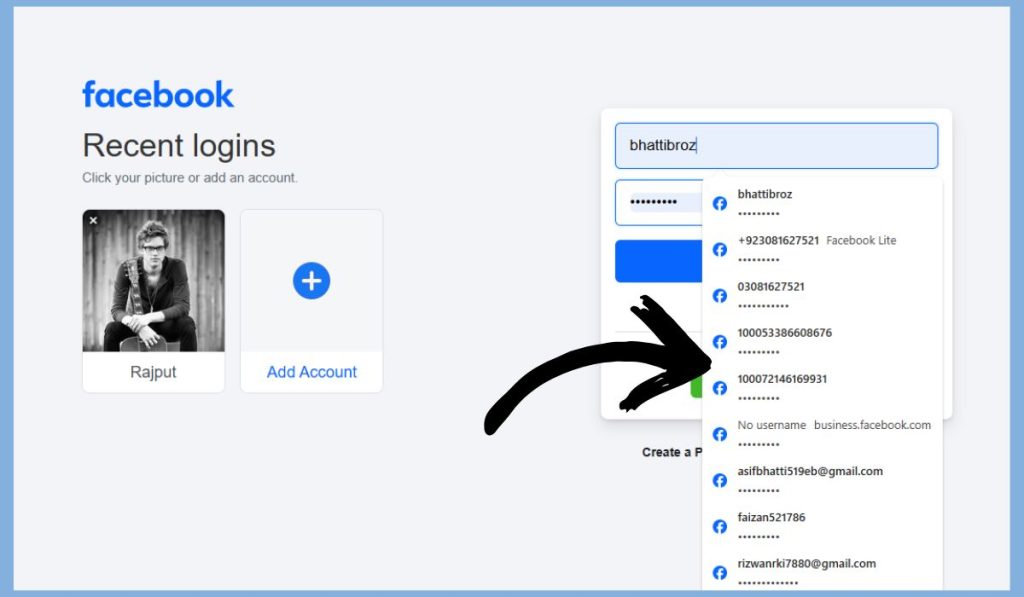
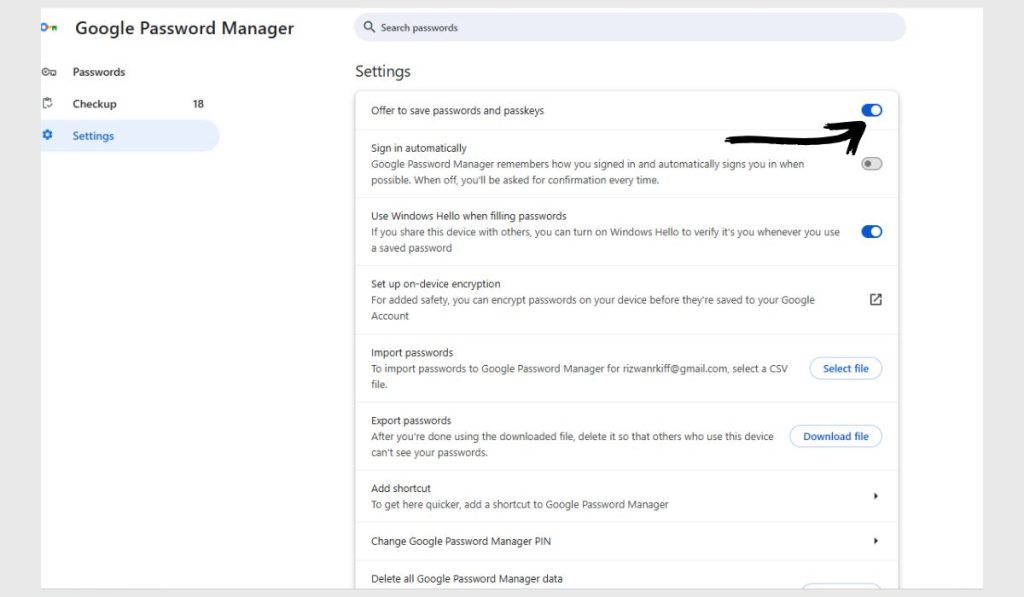
- Re-enable Autofill for Passwords and Payment Methods: Autofill also works for passwords and payment methods. Go to Settings > Autofill > Passwords and Payment methods to ensure these options are enabled.
Troubleshooting Other Autofill Issues
If you’re still facing issues after following the steps above, here are some additional solutions:
- Check for Multiple Profiles: If you have multiple profiles or guest accounts in Chrome, autofill data might not sync correctly. Ensure you’re logged into the correct profile.
- Reset Chrome Settings: If none of the above solutions work, you can reset Chrome settings to default. This can fix problems caused by incorrect configurations. Go to Settings > Advanced > Reset and clean up > Restore settings to their original defaults.
Conclusion
Chrome’s autofill feature is designed to save you time and effort by automatically filling in your name, address, and other details. However, if it’s not working, there are several common reasons and solutions to explore. By following the steps outlined in this guide, you can enable autofill, update your profile data, clear cache issues, and troubleshoot any other problems.
Did this guide help you get Chrome autofill working again? Share it with friends or family who might be struggling with autofill issues, and leave a comment below if you need further assistance. Let’s keep the conversation going!


