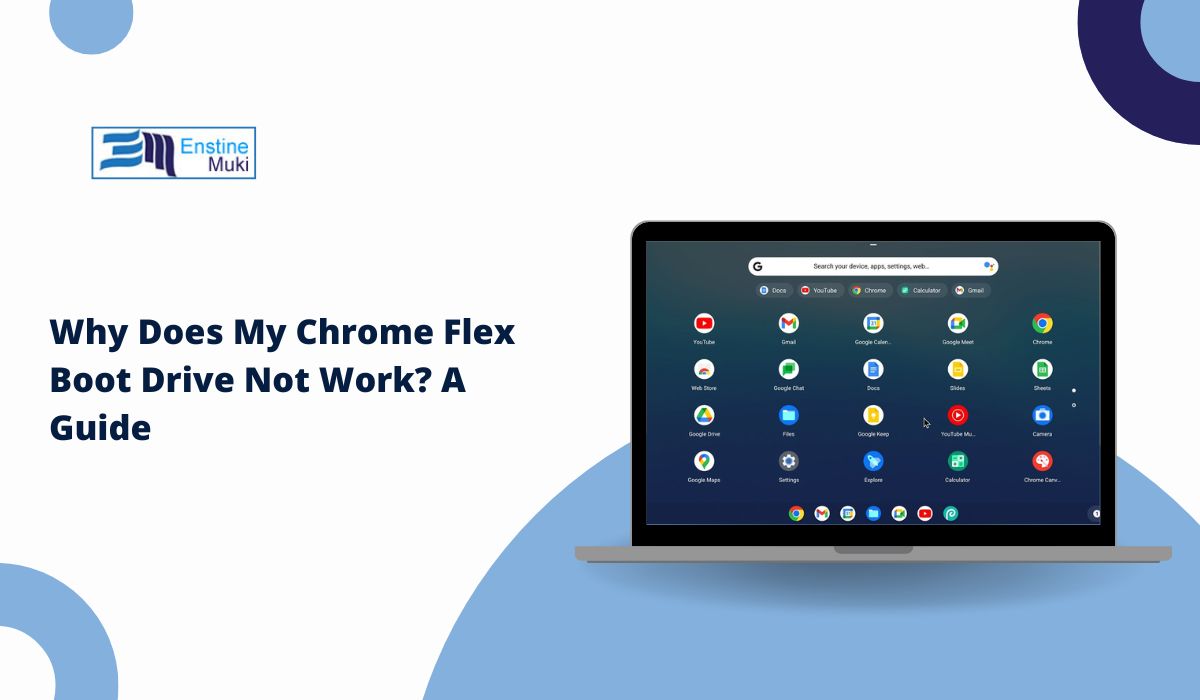
A Chrome Flex boot drive can sometimes fail to work, leaving users confused and frustrated. This drive is essential for installing Chrome OS Flex on compatible devices. If it doesn’t work, understanding the potential reasons is the first step toward resolving the issue.
In this guide, we will explore the common causes of Chrome Flex boot drive problems and provide practical troubleshooting steps to fix them.
What Is a Chrome Flex Boot Drive?
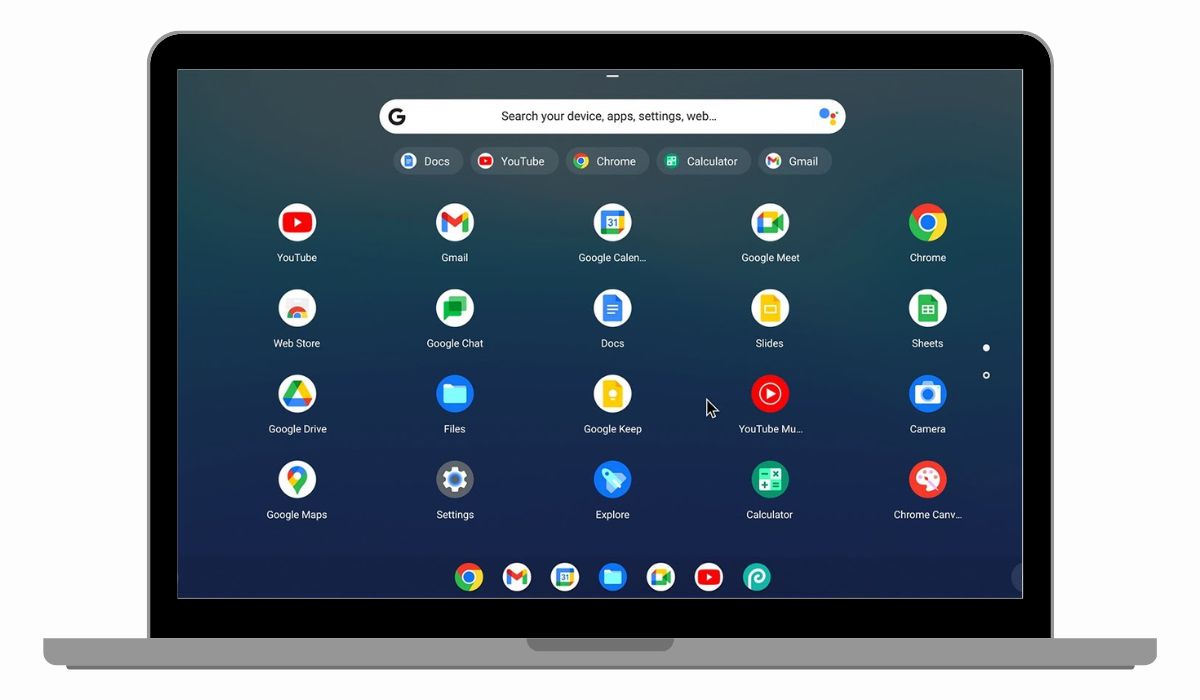
A Chrome Flex boot drive is a USB-based installation tool. It helps install Chrome OS Flex, a cloud-first, lightweight operating system.
Chrome OS Flex is designed for older hardware. It gives aging devices a performance boost by switching to a fast, secure, and efficient platform.
The drive is created using the Chrome Recovery Utility. This tool prepares the USB drive with the necessary files for installation.
Users often encounter issues if the process is incomplete or the device is incompatible. Understanding the basics helps with troubleshooting.
A Chrome Flex boot drive is a USB drive created using the Chrome Recovery Utility. It helps install Chrome OS Flex, which turns older PCs into lightweight, cloud-based devices. Chrome OS Flex is designed to extend the life of older hardware by providing a fast and secure operating system.
Common Reasons Why Your Chrome Flex Boot Drive Isn’t Working
Several factors can cause boot drive failures. Here are the most common ones:
- Incorrect BIOS/UEFI Settings: Boot priority not set to USB or Secure Boot enabled, blocking Chrome OS Flex installation.
- Corrupted or Damaged USB Drive: Physical damage or data corruption can prevent proper booting.
- Incomplete or Corrupted Installation Files: Errors during the creation process with the Chrome Recovery Utility.
- Incompatible Hardware: The target device might not support Chrome OS Flex.
- USB Drive Format Issues: The USB drive may not be properly formatted as FAT32, causing boot failures.
Step-by-Step Troubleshooting Guide
Follow these steps to resolve most boot drive issues:
Start by checking basic factors like connections and settings. If the drive still doesn’t work, move through these steps:
Step 1: Verify BIOS/UEFI Settings
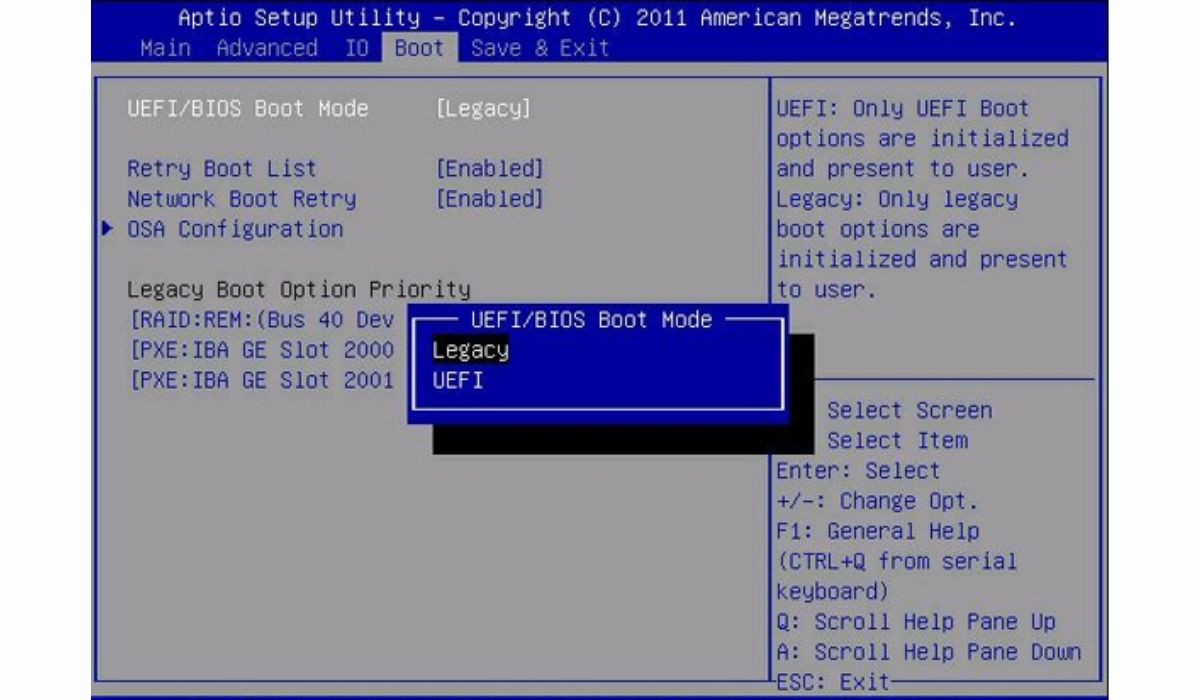
Access the BIOS/UEFI menu during startup. Make sure to enable USB boot and list it as the first boot device. Disable Secure Boot if necessary.
BIOS settings often cause boot failures. Misconfigured options can prevent the system from detecting the boot drive. Double-check your settings to avoid these issues.
Steps to Follow:
- Restart your computer.
- Press the appropriate key to enter the BIOS/UEFI menu (e.g., F2, Del, Esc).
- Locate the boot options and set the USB drive as the primary boot device.
- Disable Secure Boot if enabled.
- Save the changes and restart your computer.
Step 2: Recreate the Boot Drive
Open Chrome and launch the Chrome Recovery Utility. Insert a reliable USB drive and follow the prompts to prepare the installation media.
Ensure the internet connection is stable during this process. Any disruption can corrupt the installation files. If errors persist, reformat the USB drive and try again.
Step 3: Test on Another Device
Connect the boot drive to a different compatible computer. If it works there, your primary device may have hardware issues.
Testing the drive on another device helps isolate the problem. If the USB works elsewhere, check your device’s USB ports and drivers.
Step 4: Confirm Device Compatibility
- Open a web browser and navigate to the Chrome OS Flex compatibility list.
- Search for your device model.
- Check if your hardware components are listed as compatible.
- Update any necessary drivers if compatibility issues are noted.
- Restart your computer and try booting from the USB drive again.
Step 5: Check the USB Drive
Inspect the USB drive using built-in diagnostic tools like Windows’ Check Disk to identify potential issues.
Run diagnostic scans regularly. Bad sectors on a USB drive can cause intermittent boot failures.
Steps to Follow:
- Insert the USB drive into a working computer.
- Open File Explorer and right-click the USB drive.
- Select “Properties” > “Tools” > “Check.”
- Allow Windows to scan and repair any detected errors.
Preventive Measures to Avoid Future Issues
Preventing Chrome Flex boot drive problems is easier than fixing them. Here are a few practices you should adopt:
- Use Reliable USB Drives: Invest in branded, high-quality USB drives. Cheap, low-quality drives are more prone to corruption.
- Update Chrome Recovery Utility: Ensure you’re using the latest version of the Chrome Recovery Utility. Outdated versions may cause installation errors.
- Regularly Check Device Settings: Periodically review your BIOS/UEFI settings. Make sure USB boot remains enabled and Secure Boot stays disabled if needed.
- Handle Drives with Care: Avoid physical damage by storing USB drives properly and ejecting them safely after use.
Conclusion
Chrome Flex boot drive issues can stem from BIOS settings, USB drive problems, or hardware incompatibility. By following the troubleshooting steps outlined above, you can get your boot drive working and successfully install Chrome OS Flex.
Join the Discussion! Have you faced similar issues with your boot drive? Share your experience in the comments below!