As our lives get busier, we often find ourselves needing to send text messages to friends, family, or colleagues at a specific time, whether it’s to remind them of an appointment or to wish them a happy birthday. Fortunately, if you own an iPhone, you can easily schedule texts to be sent at a certain time. In this article, we will go through the steps to schedule a text message on iPhone.
Learn how to send text messages at a certain time on your iPhone with our step-by-step guide. Whether you need to send a reminder or wish someone a happy birthday, scheduling texts is a convenient way to stay in touch. Follow our tips for choosing the right time and avoiding spamming, and check out third-party apps for advanced scheduling options. Access more helpful articles at our Prompt Library.
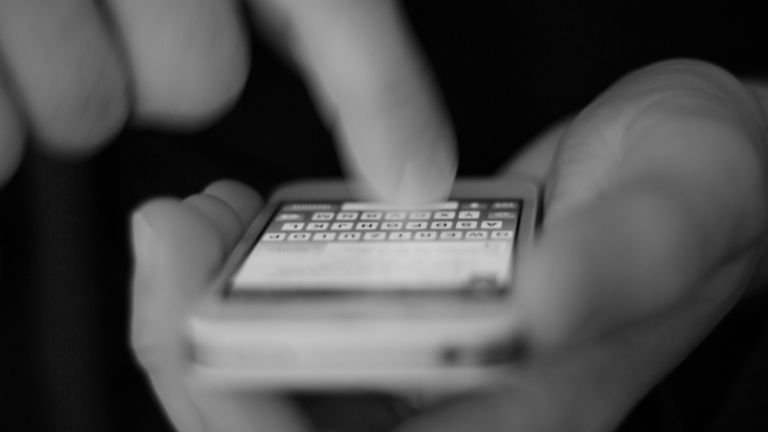
How to Send a Text at a Certain Time on iPhone
1. Updating Your iPhone
Before you can start scheduling messages, make sure your iPhone is updated to the latest version of iOS.
2. Enabling Scheduled Messages
To enable scheduled messages, go to your iPhone’s settings, select “Messages,” and then toggle on the “Scheduled Messages” option.
3. Creating a New Message
Open the “Messages” app on your iPhone, and select the contact or group you want to send a message to.
4. Composing Your Message
Type out the message you want to send, just like you normally would.
5. Scheduling Your Message
Press and hold the send button until the “Send with Effect” menu appears. Select the “Schedule Send” option, and then choose the date and time you want your message to be sent.
Editing or Cancelling Scheduled Messages
Editing a Scheduled Message
To edit a scheduled message, go to the “Messages” app and find the message you want to edit. Tap and hold the message until the “Send with Effect” menu appears, and then select “Edit.” Make any changes you want, and then press “Save” to update your scheduled message.
Canceling a Scheduled Message
To cancel a scheduled message, go to the “Messages” app and find the message you want to cancel. Tap and hold the message until the “Send with Effect” menu appears, and then select “Cancel Send.”
Tips for Using Scheduled Messages
Choosing the Right Time
When scheduling messages, make sure you choose a time that is appropriate for the message you are sending. For example, you wouldn’t want to send a message wishing someone a good morning at 10 pm.
Checking Your Schedule
It’s always a good idea to check your scheduled messages to make sure they are set for the correct time and date.
Using Scheduled Messages for Reminders
Scheduled messages are a great way to set reminders for yourself or others. For example, you could schedule a message to be sent to yourself reminding you to take your medication.
Avoiding Spamming
Be mindful of how often you schedule messages, and make sure you’re not spamming your contacts with too many messages.
Using Third-Party Apps
If you need more advanced scheduling options, consider using a third-party app like Scheduled, which allows you to schedule messages, emails, and social media posts.
In conclusion, scheduling messages on iPhone is a simple and convenient way to keep in touch with friends, family, and colleagues. By following the steps outlined in this article, you can easily schedule messages for any occasion. Remember to choose the right time, check your schedule, and use scheduled messages responsibly.