
People sign documents in Word every day. Some use it for work. Others use it for school forms, letters, or contracts. You don’t need to print anything or use extra tools. Microsoft Word lets you add your signature in a few easy ways: upload a scanned image, draw with a pen or mouse, or type it using a handwriting-style font. This guide walks you through each method clearly.
1. Insert a Scanned or Image Signature in Word
If you already have a picture of your signature, this method works best. It’s quick and looks just like your real writing. Here how to do it:
- Sign your name on blank paper.
- Take a photo with your phone or scan it.
- Save the image to your computer.
- Open your Word document.
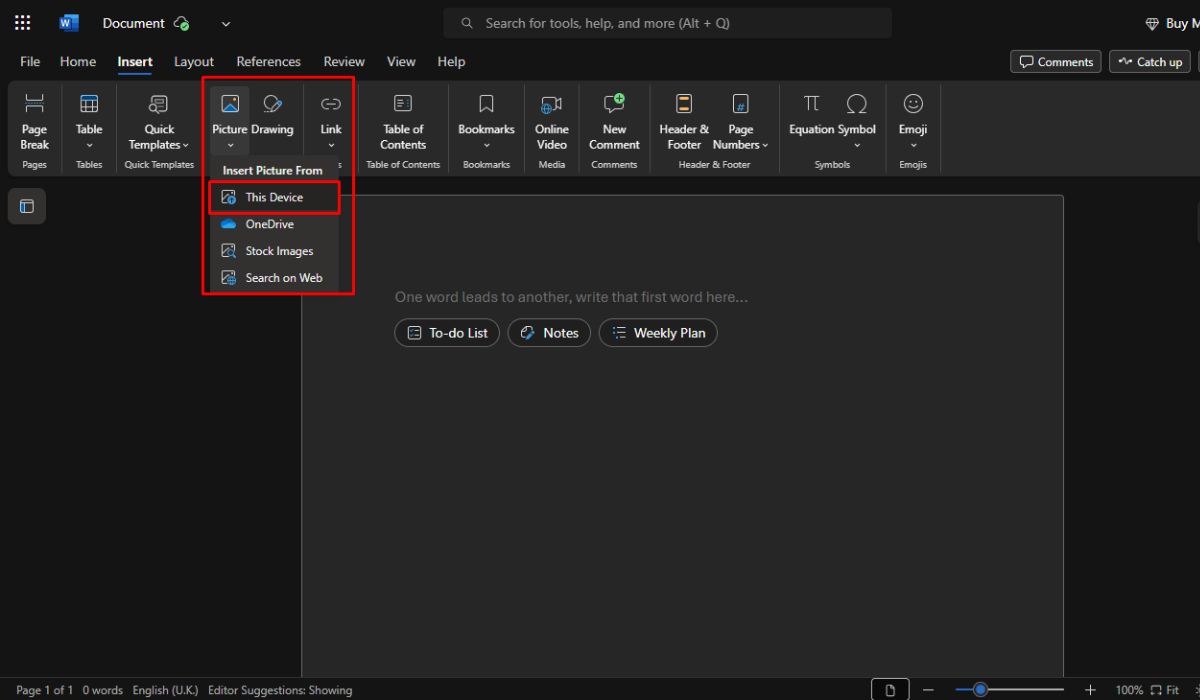
- Click on Insert, then select Pictures → This Device.
- Find and select your signature image.
- Resize and move it where needed.
- Right-click the image → choose Wrap Text → In Front of Text to place it freely.
This works in Word for Windows, Mac, and Word Online. You can reuse this image in future files too.
2. Draw Your Signature Directly in Word


If you’re on a touchscreen laptop, tablet, or using a stylus, drawing your signature is an easy option.
Try this:
- Open your Word file.
- Go to the Draw tab.
(If you don’t see it, go to File → Options → Customize Ribbon → Check “Draw.”) - Choose a pen tool and start writing your name.
- You can change pen color and thickness.
Using a mouse works too, but it may not look as smooth. If it’s messy, just erase and try again.
3. Type a Signature Using Cursive Fonts
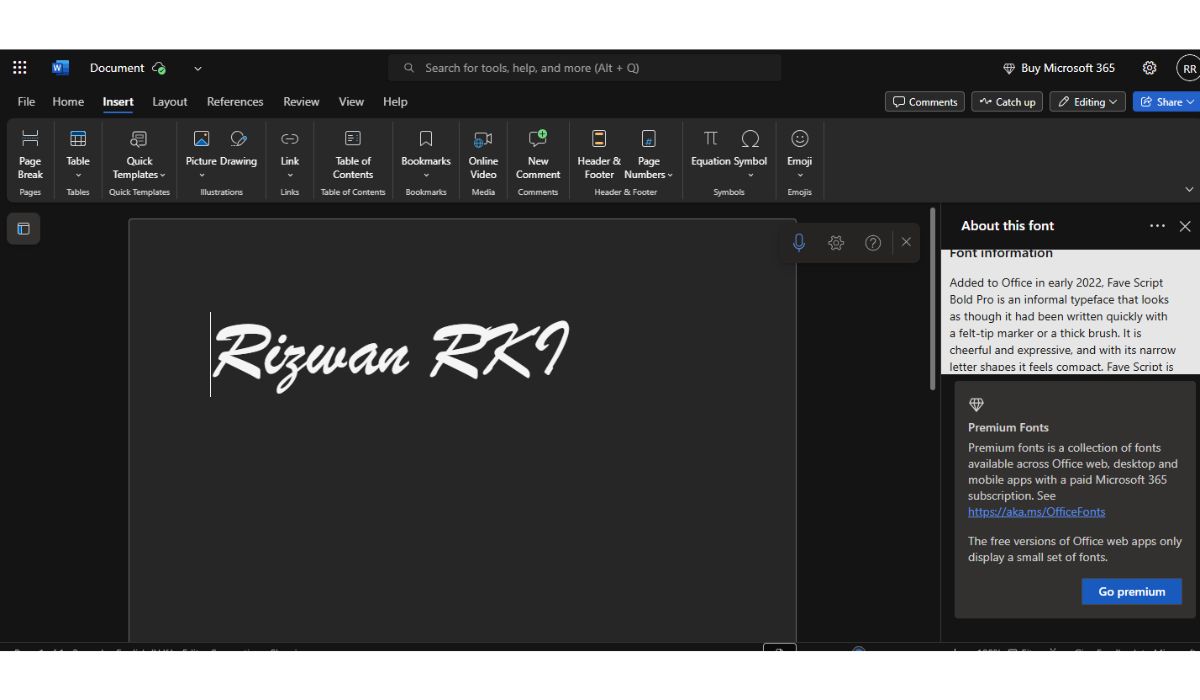
If you don’t want to use an image or draw, you can create a simple typed signature using a script-style font.
Steps:
- Go to Insert > Text Box and draw a small box on your document.
- Type your full name inside.
- Select a script font like:
- Segoe Script
- Lucida Handwriting
- Bradley Hand
- Adjust font size, bold if needed, and remove the text box border.
- Place the box in the signature space.
This method is fast and looks clean. It’s useful for standard documents where a stylized name is enough.
How to Save and Reuse Your Signature in Word
Typing your name can still look professional. You can pick a font that looks like handwriting.
How to do it:
- Click Insert > Text Box.
- Type your full name inside the box.
- Choose a script-style font like:
- Segoe Script
- Lucida Handwriting
- Bradley Hand
- Adjust the size and position of the text.
- Remove the border if you don’t want the box outline.
This method is simple, fast, and works well for basic forms or digital letters.
Add a Digital Signature Line (Advanced Option)
For formal business use or when working with certificates, Microsoft Word lets you add a digital signature line.
Steps:
- Click Insert > Text > Signature Line > Microsoft Office Signature Line.
- Fill out the signer’s name and title.
- Click OK. A blank signature box appears.
- The signer clicks it to add a secure digital certificate.
This is often used in corporate or legal documents where verified digital identity is required.
Final Thoughts
Now you know how to add your signature in Word — whether it’s handwritten, typed, or drawn. Each method is easy and built right into Microsoft Word.
Got questions or another way you like to sign? Share it in the comments. Someone else might find it helpful too.