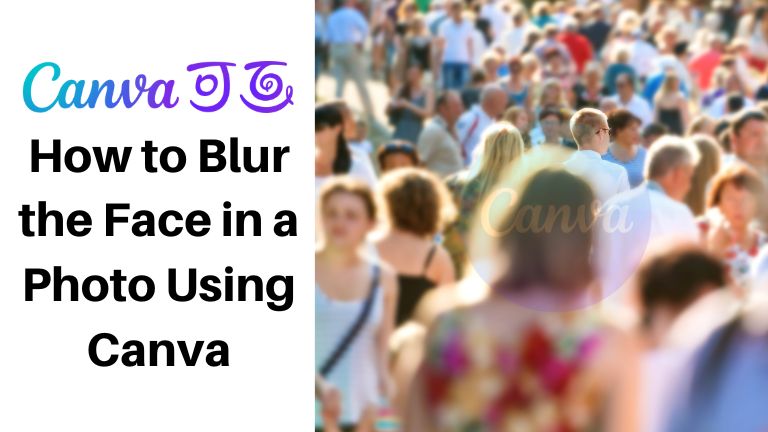
In today’s digital age, privacy has become a significant concern. With the widespread use of social media and online platforms, it’s important to be mindful of the information and images we share. If you have a photo where you want to protect someone’s identity, blurring their face is a great option. Canva, a popular graphic design tool, offers a simple and effective solution for blurring faces in photos.
In this article, we will guide you through the process of blurring a face in a photo using Canva, Learn how to blur the face in a photo using Canva with our step-by-step guide. Safeguard privacy and protect identities easily.
Why Should You Blur Faces in Photos?
Blurring faces in photos serves multiple purposes. It helps maintain privacy and anonymity, especially when sharing images in public forums, social media, or any online platforms where you want to protect someone’s identity. Blurring faces is also useful in certain professional contexts, such as journalism, where the subjects may need to remain unidentified. Additionally, if you’re using photos for creative projects or presentations, blurring faces can add an element of mystery or intrigue to your visual compositions.
Step-by-Step Guide: How to Blur the Face in a Photo Using Canva
Step 1: Accessing Canva and Uploading the Photo
To begin, navigate to Canva’s website at www.canva.com and create an account if you haven’t already. Once you’re logged in, click on “Create a design” and select “Custom dimensions.” Choose the dimensions that match the size of the photo you want to edit. Next, click on the “Uploads” tab on the left sidebar and upload the photo you wish to edit.
Step 2: Adding the Photo to Your Design
After uploading the photo, drag and drop it onto your Canva design canvas. Adjust the size and position of the photo as needed.
Step 3: Duplicating the Photo and Blurring the Duplicate
Right-click on the photo and select “Duplicate.” This creates a duplicate layer of the photo. Click on the duplicated photo layer to select it, then click on the “Effects” button on the top toolbar. Choose the “Blur” effect from the drop-down menu. Canva offers various blur intensities, so select the level that suits your requirements. The duplicated photo layer will now appear blurred.
Step 4: Erasing the Blurred Area
Now it’s time to reveal the original photo beneath the blurred layer. Click on the “Elements” tab on the left sidebar, then search for and select the “Shapes” category. Choose the rectangle shape and position it over the area you want to reveal in the photo. Adjust the shape’s size and position as necessary.
Step 5: Adjusting the Transparency of the Rectangle Shape
With the rectangle shape selected, click on the “Fill” button on the top toolbar. Reduce the transparency of the shape by dragging the transparency slider to the left. This will make the rectangle more see-through, allowing the original photo to show through.
Step 6: Finishing Touches
If needed, you can further refine the blurred area by adjusting the position, size, and transparency of the rectangle shape. Canva provides a range of tools to help you customize your design, so feel free to explore and experiment until you achieve the desired effect. Once you’re satisfied, click on the “Download” button in the top right corner to save your edited photo to your device.
Conclusion
Protecting privacy and anonymity in photos is crucial in today’s digital landscape. Canva simplifies the process of blurring faces in photos, making it accessible to users with varying levels of graphic design experience. By following the step-by-step guide outlined in this article, you can confidently blur faces in your photos using Canvas intuitive editing tools. Remember to always respect individuals’ privacy and obtain their consent when sharing edited photos. Take advantage of Canvas features and elevate your visual compositions while prioritizing privacy and anonymity.
Frequently Asked Questions (FAQs)
1. Can I blur multiple faces in a single photo using Canva?
- Yes, you can blur multiple faces in a single photo using Canva. Simply duplicate the photo layer for each face you want to blur and follow the same steps outlined in this guide.
2. Can I adjust the intensity of the blur effect in Canva?
- Yes, Canva allows you to adjust the intensity of the blur effect. When applying the blur effect to the duplicated photo layer, you can choose from a range of blur intensities to suit your preferences.
3. Can I undo or modify the blurring effect later?
- Yes, Canvas editing tools are non-destructive, meaning you can always go back and modify or remove the blurring effect. Simply select the relevant layers and make the necessary changes.
4. Are there any other alternatives to Canva for blurring faces in photos?
- While Canva is a popular choice for graphic design, there are other software options available for blurring faces in photos. Some alternatives include Adobe Photoshop, GIMP, and Pixlr.
5. Can I use Canva’s face-blurring feature on a mobile device?
- Yes, Canva offers a mobile app that allows you to edit photos and apply various effects, including face blurring. You can download the Canva app from your device’s app store and follow similar steps to blur faces on mobile.
6. Is Canva free to use for blurring faces in photos?
- Canva offers both free and paid subscription plans. The free plan provides access to a wide range of features, including the ability to blur faces in photos. However, certain advanced features and additional resources may require a subscription upgrade.