
Replacing a Sanden 508 air conditioning compressor with a Sanden SD7 is possible in many cases, but there are some key factors to consider before making the switch. These compressors are widely used in automotive and aftermarket A/C systems, offering similar performance and efficiency. However, differences in mounting points, displacement, and compatibility with existing components must be reviewed to ensure a smooth installation.
This guide provides a detailed comparison of the Sanden 508 and SD7, covering specifications, compatibility, installation steps, and potential issues to help you make an informed decision.
Understanding the Sanden 508 and SD7 Compressors
Both the Sanden 508 and SD7 compressors are designed for automotive air conditioning systems, often found in classic cars, performance vehicles, hot rods, and aftermarket A/C installations. These compressors play a crucial role in maintaining cool cabin temperatures by cycling refrigerant through the system.
SD7 vs. Sanden 508: Key Differences and Specifications
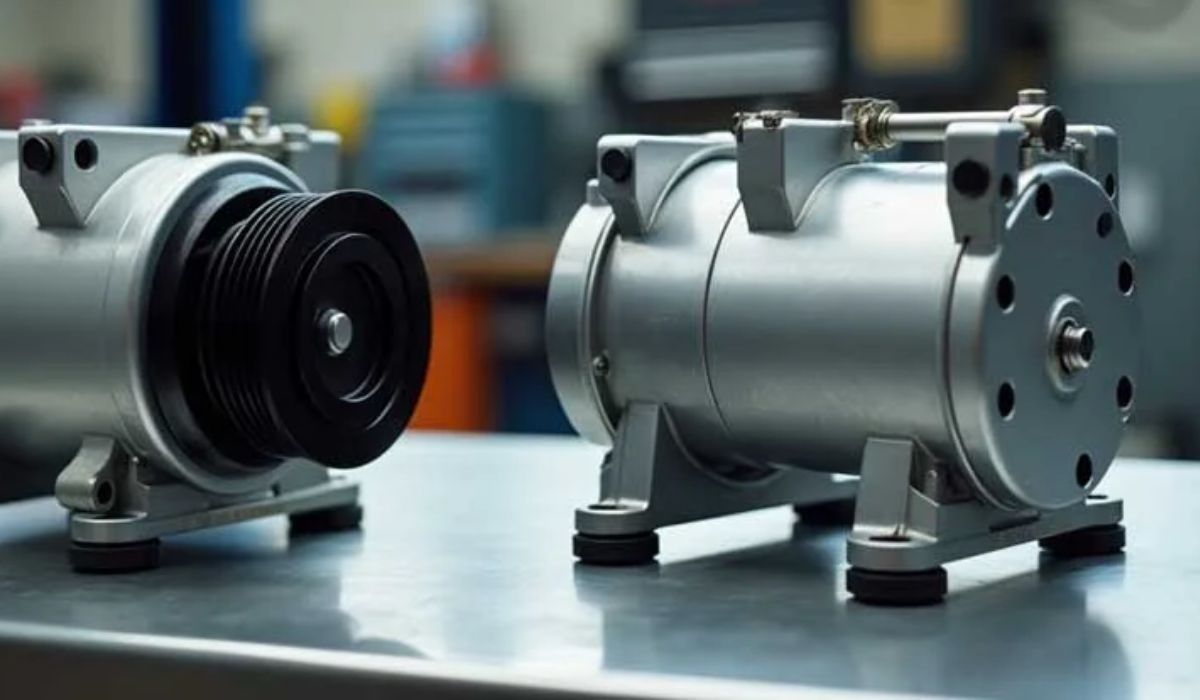
Although these compressors share similar functionality, they have differences in design, displacement, and mounting compatibility.
Comparison Table: Sanden 508 vs. SD7
| Feature | Sanden 508 | Sanden SD7 |
|---|---|---|
| Number of Pistons | 5 | 7 |
| Displacement | 8.4 cubic inches | 7.1 cubic inches |
| Refrigerant Compatibility | R-12, R-134a | R-134a |
| Pulley Options | V-belt, Serpentine | V-belt, Serpentine |
| Mounting Pattern | Standard Sanden bolt pattern | May differ slightly |
| Oil Type | PAG/ESTER Oil | PAG Oil |
- The SD7 compressor features a 7-piston design, which operates more smoothly compared to the 5-piston design of the Sanden 508.
- Displacement differences mean that the SD7 may circulate slightly less refrigerant, which could affect cooling performance in certain vehicles.
- Mounting brackets and pulley sizes should be verified before installation to ensure compatibility with your system.
Will an SD7 Compressor Fit as a Direct Replacement for a Sanden 508?
In many cases, yes, but some adjustments may be required. Here are the key factors to check before replacing a Sanden 508 with an SD7.
1. Mounting Compatibility
Most Sanden compressors follow a standard bolt pattern, allowing for direct replacements in many cases. However, some SD7 models may have minor variations in mounting points.
If the new compressor does not align perfectly with the bracket, you may need to modify the mounting holes or use an adapter bracket.
It is recommended to compare the mounting points before installation to avoid unexpected adjustments. If necessary, consult an automotive technician or check with the manufacturer for a compatible bracket solution.
2. Refrigerant and Oil Compatibility
Both the Sanden 508 and SD7 compressors are compatible with R-134a refrigerant, which is commonly used in modern automotive A/C systems.
However, older Sanden 508 models may have been designed for R-12 refrigerant, which requires an oil and refrigerant conversion before installation.
Using the wrong compressor oil can cause premature wear and system failure. Always ensure that PAG oil is used with the SD7 compressor, as mixing different oil types can damage the internal components.
If you are unsure, flush the system and refill it with the recommended oil and refrigerant before installing the new compressor.
3. Pulley and Belt Considerations
The SD7 and Sanden 508 compressors come with V-belt and serpentine pulley options, allowing flexibility in different vehicle applications. However, the pulley diameter and groove count may vary between models, affecting the belt alignment and tension.
If the pulley does not match the existing belt system, it may be necessary to swap the pulley or use a conversion kit. Proper belt alignment is crucial to ensure smooth operation and prevent premature wear on the A/C system. Before installation, double-check the pulley size and configuration to avoid any issues.
4. Cooling Performance
The SD7 compressor has a smaller displacement (7.1 cubic inches) compared to the Sanden 508 (8.4 cubic inches). This means the SD7 may circulate slightly less refrigerant, which could affect cooling performance in vehicles that require higher cooling capacity.
For most standard A/C systems, this difference may not be noticeable, but in high-performance or larger vehicles, the reduced displacement could result in slower cooling efficiency. After installation, it is advisable to test the system by running the A/C and checking temperature output to ensure optimal performance.
If cooling performance drops significantly, consider alternative replacement compressors with similar displacement to the Sanden 508.
How to Install an SD7 Compressor in Place of a Sanden 508
Follow these steps to properly install an SD7 compressor as a replacement for a Sanden 508.
1. Check Mounting Compatibility
Before installing the SD7, remove the Sanden 508 compressor and inspect the bracket. The mounting points should align, but some SD7 models may have slight differences in bolt patterns. If the bracket does not fit, an adapter may be necessary. Some modifications, such as drilling new mounting holes or adjusting the bracket position, might also be required.
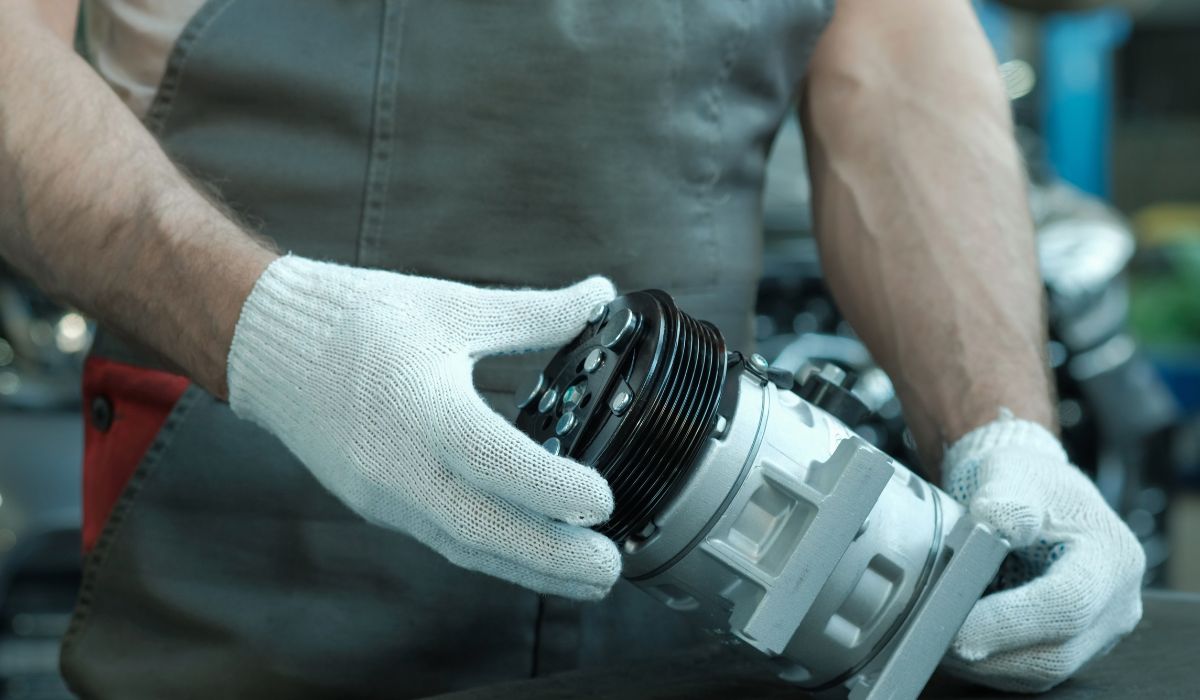
2. Inspect the Pulley System
- Ensure that the SD7 compressor’s pulley matches your vehicle’s belt system.
- If the pulley does not fit, swap it with one that matches your existing V-belt or serpentine belt setup.
- Use a pulley conversion kit if adjustments are needed for proper belt tension.
A misaligned pulley can cause belt slippage, excessive wear, or inefficient compressor operation, so double-check the fit before proceeding.
3. Prepare the Refrigerant System
Flushing the system is crucial before installing a new compressor. Any contaminants, old oil, or moisture left in the system can cause damage or reduced cooling efficiency. Ensure that the refrigerant type matches—most SD7 compressors are designed for R-134a, while some older Sanden 508 models may have used R-12.
If the system was previously running R-12 refrigerant, it must be converted to R-134a, including changing the oil type to PAG oil and possibly replacing the receiver/drier and expansion valve.
4. Install the SD7 Compressor
Once the system is prepped, bolt the SD7 compressor onto the bracket. If the fittings are not an exact match, you may need adapters to connect the hoses securely. Make sure all connections are properly tightened and that there are no visible leaks before proceeding to the next step.
5. Refill the System and Test Operation
Adding the correct amount of PAG oil is essential for compressor longevity and smooth operation. After adding oil, pull a vacuum on the system to remove any trapped air and moisture. Then, charge the system with the correct amount of R-134a refrigerant, following the manufacturer’s pressure guidelines.
Finally, start the engine and run the A/C system. Check for proper cooling performance, unusual noises, and any signs of leaks. If the A/C system is not performing as expected, double-check the belt alignment, refrigerant levels, and compressor operation.
With everything properly installed and tested, your SD7 compressor should function efficiently as a replacement for the Sanden 508. If needed, make final adjustments to ensure the best cooling performance.
Pros and Cons of Using an SD7 to Replace a Sanden 508
Replacing a Sanden 508 with an SD7 compressor has both advantages and potential drawbacks. Understanding these can help determine if the SD7 is the right choice for your A/C system.
Pros:
- More efficient 7-piston design provides smoother operation.
- Widely available replacement compressor for aftermarket systems.
- Compatible with R-134a refrigerant, making it suitable for modern vehicles.
- Potentially quieter operation than older 5-piston models.
Cons:
- Smaller displacement may slightly reduce cooling efficiency in some applications.
- Mounting brackets may require modifications for a perfect fit.
- Pulley or belt differences could require an additional swap.
- Requires proper oil and refrigerant setup to function correctly.
Common Issues & Fixes When Replacing a Sanden 508 with an SD7
Here are some common challenges you may face when replacing a Sanden 508 with an SD7 compressor, along with solutions to help ensure a smooth installation.
- Bracket Misalignment: Use an adapter bracket or drill new mounting holes for proper fitment.
- Pulley Mismatch: Swap the existing pulley or use a conversion kit to match your belt system.
- Refrigerant Performance Issues: Flush and evacuate the system before recharging with R-134a to avoid contamination.
- Noisy Operation: Ensure the correct amount of PAG oil is used and that the system is fully lubricated.
Alternative Compressor Options for Replacing a Sanden 508
If an SD7 compressor is not the best fit, here are some other replacement options:
- Sanden SD5H14 – A direct replacement for the Sanden 508 with the same 5-piston design.
- Sanden SD709 (SD7H15) – Offers slightly more displacement, making it a better alternative.
- Aftermarket universal compressors – Work well with custom applications but may require modifications.
Conclusion
Yes, in most cases, you can replace a Sanden 508 with an SD7 compressor, but certain modifications and compatibility checks may be required. Before making the swap, verify that the mounting brackets, pulley system, refrigerant type, and displacement differences align with your vehicle’s needs. While the SD7 can provide efficient and quiet operation, minor adjustments may be needed to ensure a perfect fit.
If you’re considering this upgrade, check your vehicle’s A/C system requirements and consult with a professional mechanic if necessary. Have you replaced your Sanden 508 with an SD7? Share your experience in the comments and let us know how it worked for you.