When you’re making significant changes to a WordPress site—whether updating content, revamping the design, or adding new features—it’s common to want to keep the work hidden from public view until it’s complete. In this article, we’ll explore different ways to hide your WordPress site during editing, ensuring that visitors only see your best, finished work.
Why Hide Your WordPress Site While Editing?
Hiding your site while editing is beneficial for several reasons. First, it prevents visitors from seeing incomplete or broken pages, which could lead to a poor user experience. Second, it ensures that any new designs or content remain a surprise until you’re ready to go live.
Whether you’re editing a single page or overhauling the entire site, hiding your WordPress site during editing is simple and can be done in several ways.
Methods to Hide Your WordPress Site While Editing
Here are the most effective ways to hide your WordPress site during editing, allowing you to work behind the scenes without impacting the user experience.
1. Use a Maintenance Mode or Coming Soon Plugin
One of the easiest ways to hide your WordPress site is by using a maintenance mode or use our coming soon plugin. These plugins create a temporary page that informs visitors your site is under construction or coming soon while allowing you full access to make changes.
Popular plugins for this purpose include:
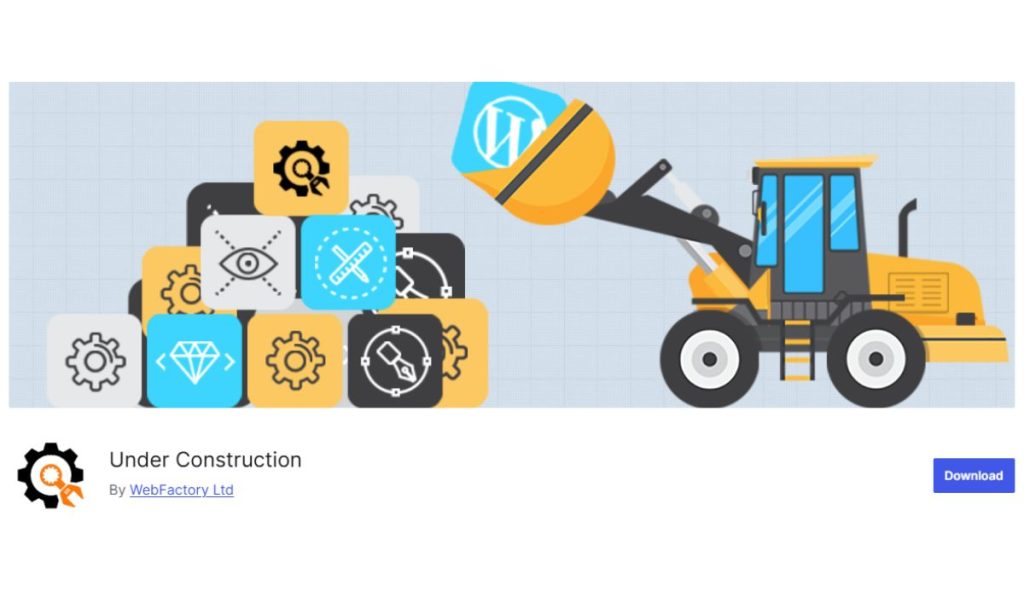
- Under Construction: A powerful and user-friendly plugin with options to create maintenance and coming soon pages.
- WP Maintenance Mode: This free plugin provides customizable templates and options to restrict access for logged-in users only.
- Under Construction Page: A simple plugin with several templates and customization options to fit any brand.
To use a maintenance mode plugin:
- Install and activate the plugin from the WordPress plugin directory.
- Configure the settings, including the message, design, and visibility options.
- Enable maintenance mode, and your site will display the maintenance page to visitors.
Most plugins allow administrators and logged-in users to bypass maintenance mode, so you can continue working on the site while visitors see only the temporary page.
2. Use Password Protection on Specific Pages
If you’re only editing a few specific pages, WordPress allows you to password protect individual pages without affecting the entire site. This option is ideal if you only need to hide certain sections while working on them.
To password protect a page:
- Go to the WordPress editor for the page you want to protect.
- In the “Visibility” section, select “Password Protected.”
- Enter a password and save the changes.
Now, only people with the password can access the page. Visitors without the password will see a prompt to enter it, keeping your work secure while you edit.
3. Use Staging Sites for Major Redesigns
For significant updates and redesigns, creating a staging site is one of the best options. A staging site is a duplicate version of your live site where you can make changes, test new features, and preview designs without affecting the main site.
Most web hosts offer staging environments, which allow you to clone your WordPress site and make edits in a separate space. Some popular hosts, like SiteGround, Bluehost, and WP Engine, include staging features as part of their hosting plans.
To set up a staging site:
- Log into your hosting account and locate the staging tool.
- Follow the instructions to create a clone of your WordPress site.
- Make edits on the staging site. Once you’re happy with the changes, you can push them live with a few clicks.
This approach allows you to preview and perfect your changes in a safe environment without risking errors on your live site.
4. Restrict Access to Site with HTTP Authentication
For advanced users, HTTP authentication is an effective way to restrict access to your site during editing. This method requires visitors to enter a username and password to access any page on the site, making it useful for hiding the entire site from public view.
To enable HTTP authentication:
- Access your site via cPanel or an FTP client.
- Locate your .htaccess file in the root directory (often in
/public_html). - Add HTTP authentication rules, which usually require creating a separate password file (
.htpasswd).
This method requires more technical setup but provides a high level of control over who can access the site. If you’re comfortable with server management, HTTP authentication offers a secure way to hide your WordPress site while making changes.
Additional Tips for Hiding Your Site While Editing
- Use “Discourage Search Engines” Setting: In the WordPress dashboard, go to Settings > Reading and enable “Discourage search engines from indexing this site.” This will prevent search engines from indexing your site while it’s under construction, keeping it hidden in search results. Note that this setting does not guarantee full invisibility but serves as an additional precaution.
- Enable Restricted Access Based on User Roles: Some maintenance mode plugins allow you to limit access based on user roles. This means that only administrators or editors can view the full site, while other user roles see the maintenance page.
- Set Up Temporary Redirects: If you need to hide certain pages but still want to direct users to relevant content, consider setting up temporary redirects. Redirect users to an alternative page or custom message explaining that the content will be available soon.
Conclusion: Choose the Right Method to Hide Your WordPress Site
Hiding your WordPress site while editing can ensure that visitors only see a polished, professional website. Whether using a maintenance mode plugin, setting up a staging site, or password-protecting specific pages, each method offers unique benefits based on your needs.
By choosing the right approach, you’ll be able to make improvements confidently, knowing your site’s visitors are only seeing your best work.
Ready to start editing? Try these methods to keep your WordPress site hidden during the process, and let us know in the comments if you have any questions!
