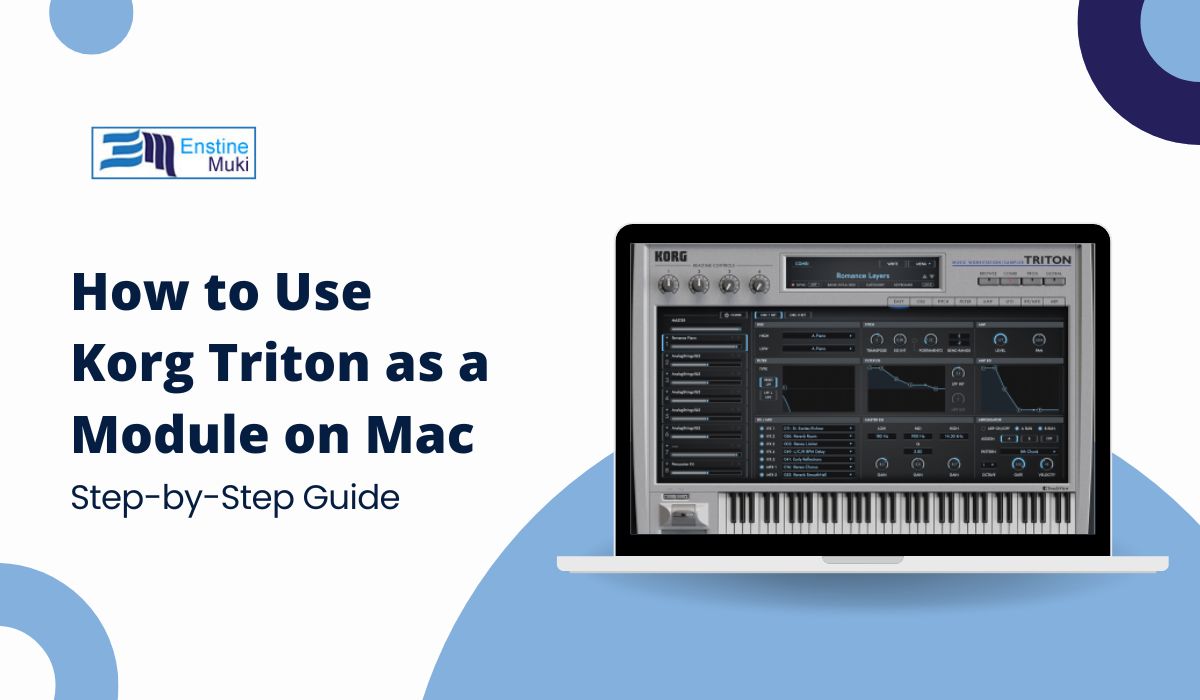
Do you want to enhance your music production by using your Korg Triton as a module on your Mac? This guide will walk you through the easy steps to connect and use your Triton effectively!
What is the Korg Triton and Why Use It?
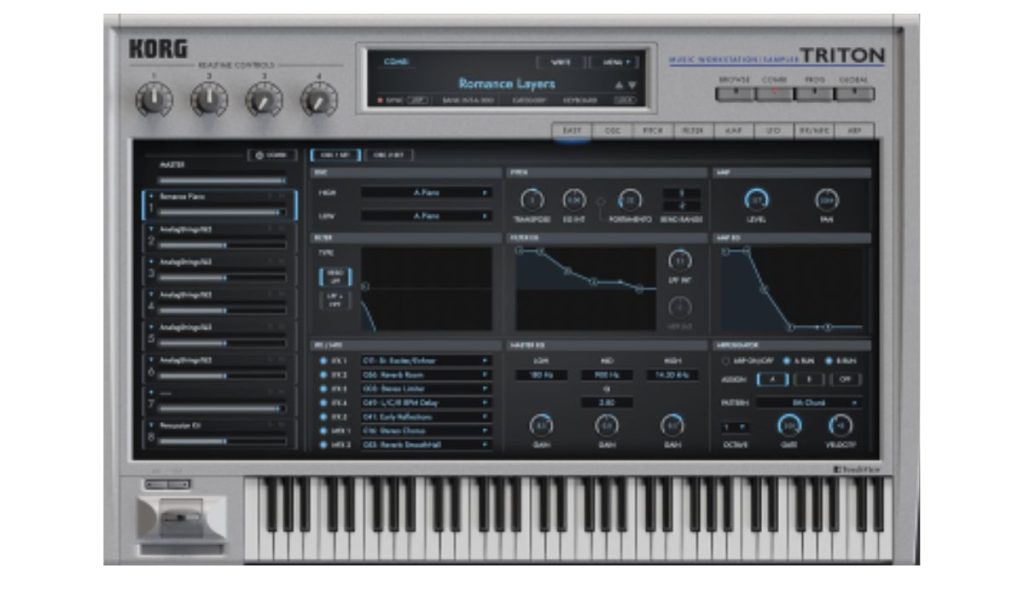
The Korg Triton is a powerful music workstation that allows you to create and play music with high-quality sounds. It has fantastic features like a built-in sequencer, effects, and a wide range of sounds. By using it as a module, you can control the Triton with your Mac, turning it into an amazing sound source for your music projects.
How to Use Korg Triton as a Module on Your Mac
1. Gather Your Equipment
Before you start, make sure you have:
- Korg Triton keyboard
- Mac computer (check for the latest OS)
- USB cable or MIDI interface (if needed)
2. Connecting the Korg Triton to Your Mac
Physical Connection:
- USB Connection: Plug the Triton into your Mac using a USB cable.
- MIDI Connection: If using a MIDI interface, connect the Triton to your MIDI interface using MIDI cables.
Power Up:
- Make sure to turn on the Korg Triton and set it to the correct MIDI channel for communication.
3. Setting Up in Your DAW
Open Your DAW:
- Launch your Digital Audio Workstation (DAW) like Logic Pro or Ableton Live.
Create a New MIDI Track:
- Go to your DAW and create a new MIDI track for the Korg Triton.
Select the Triton as the MIDI Input:
- In your DAW, choose the Triton as the input device. This allows your Mac to receive MIDI signals from the Triton.
Assign Output Channels:
- Set the output to use the Triton’s sounds.
4. Exploring Triton Sounds and Effects
Navigate Through Presets:
- Use the Triton to explore its wide range of preset sounds. You can easily change sounds while working in your DAW.
Using Built-in Effects:
- Take advantage of the Triton’s built-in effects to enhance your sounds. Experiment with different effects to find what works best for your music.
Layering Sounds:
- Layer sounds from the Triton with virtual instruments in your DAW to create richer textures.
5. Recording and Playback
Recording MIDI Data:
- When you’re ready, hit the record button in your DAW to capture MIDI data from the Triton.
Playback and Adjustments:
- After recording, play back your track. Make any necessary adjustments to MIDI notes or sounds.
6. Troubleshooting Common Issues
No Sound Output:
- If you hear no sound, check the Triton’s volume and ensure the correct MIDI channel is set.
Latency Issues:
- If there’s a delay when playing, adjust your DAW’s audio settings to reduce latency.
MIDI Connectivity Problems:
- If you’re having trouble connecting, check all cables and ensure your DAW recognizes the Triton.
7. Advanced Tips and Tricks
Using Triton’s Sequencer:
- Consider using the Triton’s built-in sequencer to create sequences that you can play alongside your DAW.
Integrating with Other Gear:
- You can also connect other instruments or controllers to expand your music setup.
Exploring Third-Party Software:
- Look for software tools that enhance the Triton’s functionality, like additional sound libraries or editing tools.
Conclusion
Using the Korg Triton as a module on your Mac opens up exciting possibilities for music production. Follow these steps to easily integrate the Triton into your setup and start creating amazing music.
Connect your Korg Triton to your Mac and explore its incredible sounds! If you have tips or questions, share them in the comments, and don’t forget to subscribe for more music production tips!

