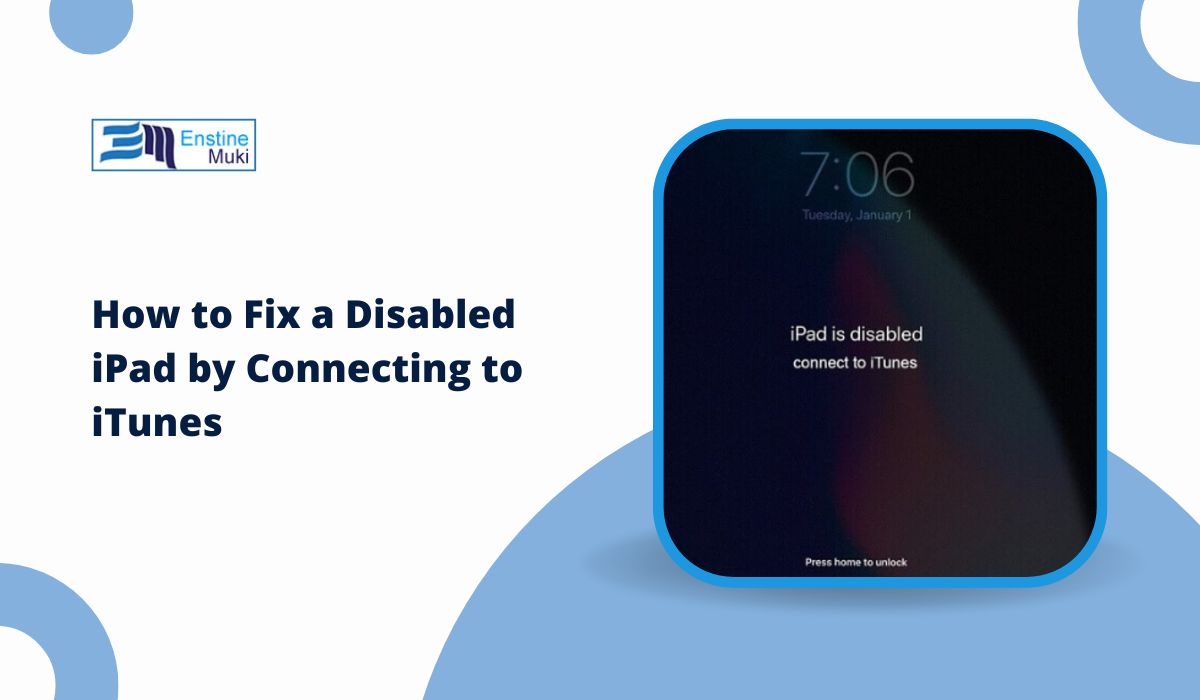
A disabled iPad can be frustrating, especially if you rely on it for work, school, or personal use.
Whether you’ve entered the wrong passcode multiple times or your iPad is showing the “Connect to iTunes” message, it can seem like you’re locked out of your device.
Fortunately, there is a way to fix a disabled iPad by connecting it to iTunes.
In this guide, we’ll walk you through the process step-by-step, help you understand why the issue occurs, and discuss alternative methods of fixing your iPad.
What Does It Mean When an iPad is Disabled?
When your iPad gets disabled, it’s typically due to multiple incorrect passcode attempts. After a certain number of failed attempts (usually six), your iPad will automatically disable itself for a set period, and if you continue to enter the wrong passcode, it may become permanently disabled.
The most common reason for a disabled iPad is entering the wrong passcode repeatedly. Each time the wrong passcode is entered, the waiting period increases. After several attempts, the device locks completely, requiring a restore through iTunes or iCloud.
The length of time your iPad remains disabled depends on how many failed attempts have been made. Initially, it may lock for a few minutes, but after multiple tries, it can be disabled for hours or even require a complete restore.
Understanding the “Connect to iTunes” Message
When your iPad is disabled, it may display the “Connect to iTunes” message. This means the device needs to be connected to iTunes in order to fix the issue. If you’re seeing this message, it indicates that the device is in recovery mode or needs to be restored via iTunes.
When an iPad is disabled, iTunes is the main tool used to restore it. The “Connect to iTunes” screen appears when your iPad is in recovery mode. You’ll need to connect your device to a computer running iTunes and perform a restore to regain access.
iTunes is Apple’s recovery software. It is designed to repair software-related issues, like a disabled iPad, by either updating or restoring the device. When your iPad is disabled, iTunes is the go-to solution for fixing the issue.
The main risk of using iTunes to restore a disabled iPad is potential data loss. Restoring your iPad erases all data, including apps, photos, and settings. That’s why regular backups are essential.
How to Fix a Disabled iPad by Connecting to iTunes
Here’s a simple, step-by-step guide to fix a disabled iPad via iTunes.
Step 1: Install the Latest Version of iTunes
Before you start, ensure you have the latest version of iTunes installed on your computer. You can download iTunes from Apple’s website or update it through the App Store (on Mac) or Microsoft Store (on Windows).
Step 2: Connect Your Disabled iPad to Your Computer
Next, connect your disabled iPad to your computer using a USB cable. Launch iTunes (or Finder if you’re using macOS Catalina or later).
Step 3: Put Your iPad in Recovery Mode
To fix the disabled iPad, you’ll need to put it in recovery mode. The steps to do this depend on your iPad model:
- For iPads with a Home Button (iPad Air, iPad Mini):
- Press and hold the Home button and the Top (Power) button simultaneously.
- Keep holding both buttons even when you see the Apple logo.
- Release when the Connect to iTunes screen appears.
- For iPads with Face ID (iPad Pro):
- Press and release the Volume Up button.
- Press and release the Volume Down button.
- Press and hold the Top (Power) button until the Connect to iTunes screen appears.
Step 4: Restore iPad Using iTunes
Once your iPad is in recovery mode, iTunes will detect it and prompt you with options to Restore or Update. Choose Restore to erase the device and reinstall the latest version of iOS.
- iTunes will then begin downloading the necessary software.
- Once the download is complete, it will automatically restore your iPad to its factory settings, fixing the disabled issue.
Step 5: Set Up Your iPad After Restoration
After the restore process is complete, your iPad will restart. You will need to follow the on-screen instructions to set up your iPad again. If you have a backup on iCloud or iTunes, you can restore your apps, settings, and data during the setup process.
Troubleshooting Common Issues During the iTunes Recovery Process
While restoring your iPad using iTunes is usually straightforward, you might run into some issues. Here are a few common problems and solutions:
iTunes Doesn’t Recognize My iPad – What to Do?
- Ensure your iPad is properly connected to your computer via USB.
- Try using a different USB cable or port.
- Restart both your iPad and your computer.
iPad Stuck in Recovery Mode – How to Fix It?
If your iPad is stuck in recovery mode and won’t restore, try force restarting your device:
- For iPads with Home Button: Hold the Home and Top buttons simultaneously until the Apple logo appears.
- For iPads with Face ID: Press and release the Volume Up button, then Volume Down, and then press and hold the Top (Power) button until the Apple logo appears.
What to Do if You Get Error Messages During the Restore Process
If iTunes shows error codes like 9, 4005, or 4013 during the restore, it indicates a hardware or software issue. Try the following:
- Update iTunes to the latest version.
- Ensure your computer is not blocking iTunes.
- If the issue persists, contact Apple Support for further assistance.
Alternative Ways to Fix a Disabled iPad Without iTunes
While iTunes is the most reliable method for restoring a disabled iPad, there are alternatives you can try.
Using iCloud to Restore Your iPad
If you have Find My iPad enabled and your device is connected to Wi-Fi, you can use iCloud to restore the iPad. Go to iCloud.com, sign in with your Apple ID, and select Find My iPhone. From here, you can choose your disabled iPad and select Erase iPad to remove the passcode and restore the device.
Using Third-Party Software to Unlock Your iPad
There are also third-party software tools like Tenorshare ReiBoot, iMyFone LockWiper, and others that claim to unlock disabled iPads without iTunes. While these tools may work, use them with caution as they can sometimes cause data loss or security risks.
How to Avoid Your iPad Getting Disabled in the Future
To prevent your iPad from becoming disabled in the future, consider these tips:
Tips for Avoiding the Disabled iPad Issue
- Choose a passcode that you can easily remember, or use Face ID or Touch ID for easier access.
- Set up two-factor authentication for added security.
Enable Find My iPad for Easier Recovery
Find My iPad allows you to remotely erase your iPad if it becomes disabled, making recovery easier.
Back Up Your iPad Regularly
Regular backups to iCloud or iTunes can ensure that your data is safe in case of issues like a disabled iPad. If you ever need to restore your iPad, a recent backup will make the process smoother.
Conclusion: Is It Safe to Fix a Disabled iPad via iTunes?
Fixing a disabled iPad via iTunes is a safe and effective method to restore access to your device, though it may result in data loss. To avoid potential issues, always keep backups of your iPad and take steps to protect your passcode. If you’re still facing difficulties or need additional help, contacting Apple Support may be necessary.


