


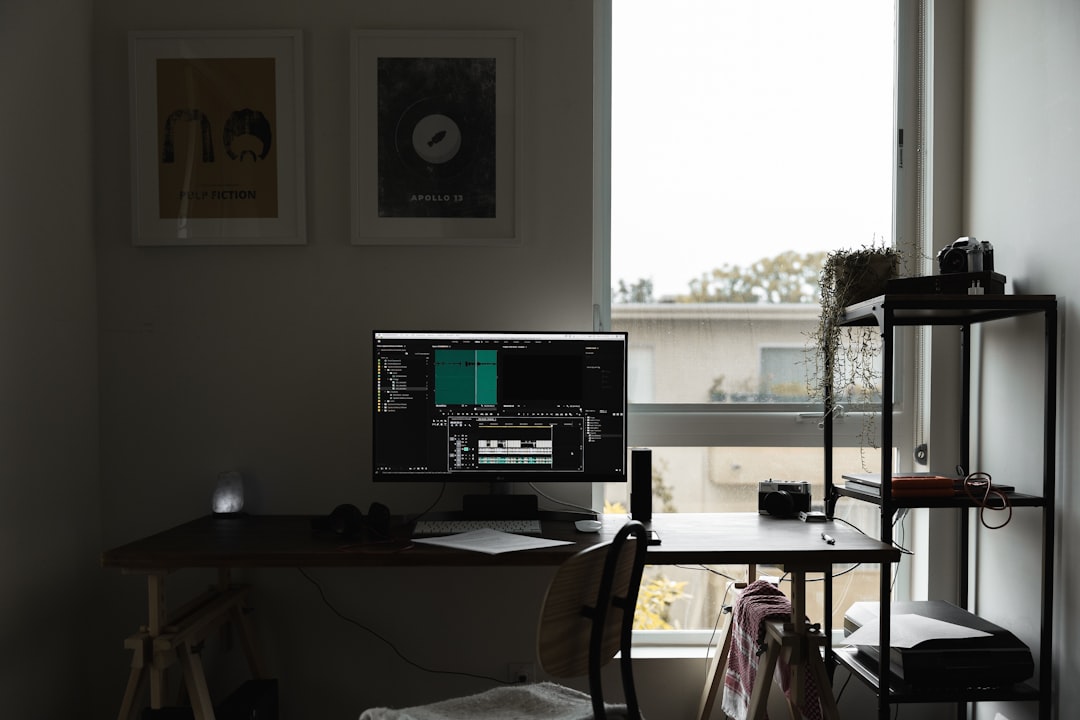
Adobe Premiere Pro has long been the go-to editing platform for filmmakers, YouTubers, marketers, and content creators of every kind. While its interface can seem overwhelming at first, many of its most powerful tools come down to a handful of highly versatile effects. Mastering just a few of these can dramatically elevate the quality, polish, and storytelling impact of your projects. Whether you’re editing short-form social videos or cinematic documentaries, understanding these core effects can transform your workflow and your results.
TLDR: Mastering a few essential Premiere Pro effects can drastically improve video quality and storytelling. Key effects like Lumetri Color, Warp Stabilizer, and adjustment layers help creators achieve professional polish quickly. Audio and motion-based effects add clarity and cinematic flair. Focus on these five core tools to edit faster and produce standout content.
Below are the top five Adobe Premiere Pro effects every creator should master, along with practical insights into how and when to use them.
1. Lumetri Color: Professional Color Correction and Grading
If there’s one effect that separates amateur footage from cinematic visuals, it’s Lumetri Color. This powerful panel allows you to correct exposure, balance white levels, enhance skin tones, and create stylized color grades—all within a single interface.


Why it matters: Color directly influences mood and emotion. Warm tones create coziness and intimacy, while cooler tones evoke tension or professionalism. Improper exposure or white balance, on the other hand, can instantly cheapen your footage.
Key tools inside Lumetri Color you should know:
- Basic Correction: Adjust white balance, exposure, contrast, highlights, and shadows.
- Creative: Apply LUTs and faded film looks.
- Curves: Fine-tune color channels and contrast.
- Color Wheels: Balance shadows, midtones, and highlights individually.
- HSL Secondary: Isolate and adjust specific colors like skin tones.
Mastering Lumetri is non-negotiable. Even slight adjustments to contrast and saturation can dramatically enhance footage straight out of camera.
2. Warp Stabilizer: Smooth Out Shaky Footage
Handheld shooting is common, especially for vloggers and documentary creators. Unfortunately, it often results in shaky clips. That’s where Warp Stabilizer comes in.
This effect analyzes your footage and smooths camera motion automatically. It’s found under Effects > Video Effects > Distort > Warp Stabilizer.
Best use cases:
- Walking shots
- Handheld B-roll
- Drone footage with minor vibrations
- Action sequences
Pro tip: After applying Warp Stabilizer, experiment with the “Result” and “Method” settings. “Smooth Motion” retains natural movement, while “No Motion” locks the frame for a tripod-like look.
Overuse can create unnatural warping artifacts, so subtle tweaking is essential. A stabilization value between 5% and 15% often looks more realistic than the default 50%.
3. Adjustment Layers: Flexible, Non-Destructive Editing
Technically not an effect itself, the Adjustment Layer is one of the most powerful tools in Premiere Pro. It allows you to apply effects to multiple clips at once without affecting the source footage directly.
Why creators love it:
- Apply consistent color grading across an entire sequence.
- Add stylized looks to entire scenes instantly.
- Easily toggle effects on and off.
- Maintain non-destructive workflows.
Imagine applying Lumetri Color individually to 20 clips. Now imagine changing one parameter. With adjustment layers, you edit once and update everything at the same time. This is a massive time saver.
To use it:
- Create a new Adjustment Layer in the Project panel.
- Drag it above your clips in the timeline.
- Apply effects to the layer instead of individual clips.
For professional workflows, adjustment layers are essential.
4. Essential Sound Panel and DeNoise: Clean, Professional Audio
Viewers will forgive imperfect visuals—but not bad audio. That’s why mastering Premiere Pro’s Essential Sound panel and audio effects like DeNoise and DeReverb is crucial.
The Essential Sound panel allows you to categorize clips (Dialogue, Music, SFX, Ambience) and apply intelligent presets that enhance clarity and balance.
What you can do:
- Reduce background noise.
- Normalize dialogue levels.
- Add compression for consistent volume.
- Create professional sound mixes quickly.
Why this matters: Clean audio builds trust and credibility. Poor sound distracts viewers and reduces watch time.
For dialogue-heavy content like interviews or YouTube videos, applying subtle noise reduction and compression can make your video instantly more professional.
5. Gaussian Blur and Masking: Focus and Cinematic Depth
Gaussian Blur is often underestimated, but paired with masking, it becomes a powerful storytelling device.
This effect allows you to blur parts of your image while keeping the subject sharp. It can simulate shallow depth of field, hide sensitive information, or draw attention to key elements.
Common uses include:
- Blurring faces or license plates
- Creating soft background focus
- Highlighting text overlays
- Simulating camera focus pulls
By using masks and feathering, you can create smooth transitions between sharp and blurred areas, giving your footage a more cinematic feel without expensive lenses.
Quick Comparison Chart
| Effect | Main Purpose | Difficulty Level | Best For | Workflow Impact |
|---|---|---|---|---|
| Lumetri Color | Color correction and grading | Medium | Cinematic and branded visuals | High visual enhancement |
| Warp Stabilizer | Reduce camera shake | Easy | Handheld and action footage | Improves professionalism |
| Adjustment Layer | Apply effects globally | Easy | Consistent edits across scenes | Massive time saver |
| Essential Sound & DeNoise | Audio cleanup and mixing | Medium | Interviews, YouTube, podcasts | Boosts viewer retention |
| Gaussian Blur + Masking | Selective focus and emphasis | Medium | Cinematic storytelling | Enhances visual depth |
How These Effects Work Together
While each effect is powerful individually, the real magic happens when you combine them strategically.
For example:
- Use Warp Stabilizer to smooth a walking clip.
- Apply Lumetri Color on an adjustment layer for cinematic grading.
- Enhance audio using Essential Sound.
- Add a subtle Gaussian Blur mask to isolate your subject.
In just a few steps, an ordinary clip turns into professional-level content.
Final Thoughts
You don’t need dozens of flashy transitions or third-party plugins to create stunning videos in Adobe Premiere Pro. Instead, true mastery comes from understanding a focused set of core tools and using them intentionally.
Lumetri Color shapes mood and style. Warp Stabilizer ensures smooth viewing. Adjustment Layers streamline your workflow. Essential Sound tools maintain professionalism. Gaussian Blur with masking adds cinematic flair.
If you commit to mastering these five effects, you’ll not only improve your video quality—you’ll also edit faster, think more creatively, and deliver content that truly stands out.
In a competitive content landscape, polish makes the difference. And these Premiere Pro effects are your shortcut to achieving it.