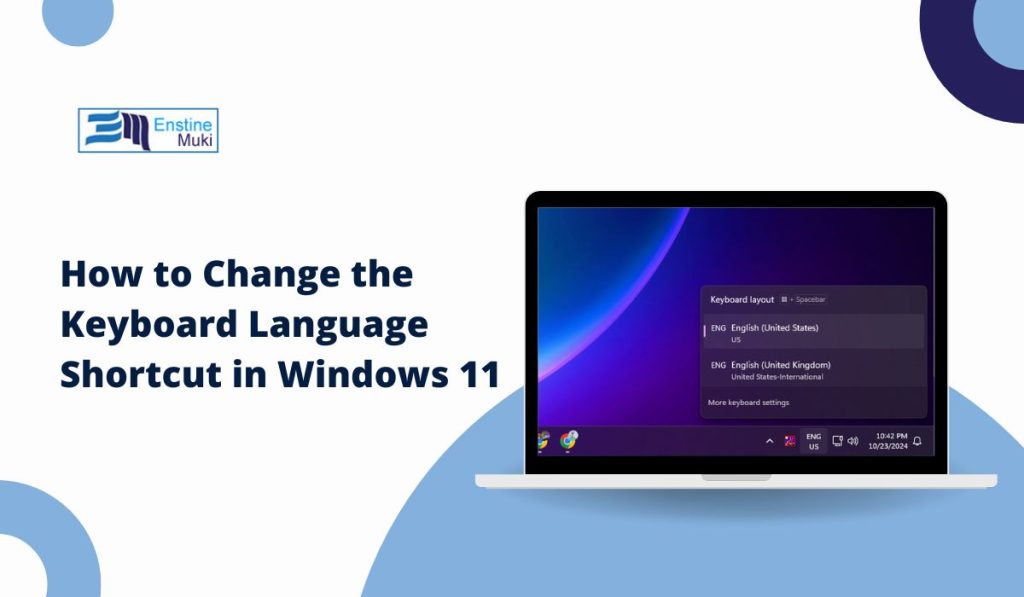
Do you ever find yourself needing to switch between different languages on your keyboard but find the default shortcut awkward or just plain annoying? If you’re like me, you might have wished for an easier way to toggle between languages without slowing down your typing. Well, the good news is that Windows 11 makes it super simple to change the keyboard language shortcut, and in this guide, I’m going to show you how!
Why Change the Keyboard Language Shortcut?
If you regularly switch between different languages while typing, having the right shortcut can feel like a lifesaver. Imagine writing a sentence in English and needing to quickly switch to Spanish or another language—it’s way more efficient when you can do it with a shortcut that fits your workflow. Plus, the default shortcuts don’t always work for everyone. Maybe Alt + Shift isn’t your style, or maybe you just want to switch things up. Don’t worry, changing it is easy!
Steps to Change the Keyboard Language Shortcut in Windows 11
Okay, let’s get to the fun part—changing that shortcut! It’s really simple, and even if tech isn’t your thing, you’ll be able to do this in no time. Just follow these steps.
1. Open Windows Settings
First things first, you’ll need to open Settings. You can do this by pressing the Windows Key + I at the same time. It’s like a little shortcut hack!
2. Go to Time & Language
Now that you’re in Settings, look for the section called Time & Language. It sounds fancy, but all it means is that you’ll be adjusting stuff related to time zones and languages.
3. Select Language & Region
Next, click on Language & Region. This is where all the magic happens when it comes to changing your keyboard languages and regional settings.
4. Open Advanced Keyboard Settings
Scroll down a bit and you’ll see something called Advanced Keyboard Settings. Don’t let the name scare you—it’s just where we’ll make a couple of tweaks to your keyboard shortcuts.
5. Change Key Sequence
Here’s the important part! You’ll find an option for Language Bar Options. Click on that, and a new window will pop up. Then, hit the Change Key Sequence button. This is where you get to choose your new shortcut.
6. Choose Your Shortcut
Pick the key combo that you think will work best for you. Options include things like Left Alt + Shift, Ctrl + Shift, or you can stick with Windows Key + Space. Go with what feels most natural—this is all about making your life easier!
7. Apply and Exit
Once you’ve picked your new shortcut, click Apply to lock in your settings. And that’s it—you’re done! Time to start using that fancy new shortcut.
Adding New Keyboard Languages in Windows 11
Thinking about adding more languages? It’s super easy! Here’s a quick how-to in case you want to spice up your typing.
- Go back to the Language & Region section in Settings.
- Click on Add a Language and scroll through the list to find the one you want.
- Hit install, and voila! You now have a new language added to your keyboard.
Once you’ve added a new language, your new shortcut will make it a breeze to switch between them.
Tips for Managing Multiple Languages
If you’re juggling multiple languages like a pro, here are a couple of extra tips to make things even easier:
- Pin the Language Settings to Your Taskbar: You can add a little icon that lets you quickly switch between languages without even needing the shortcut.
- Use Windows Key + Space: This is a super-fast way to jump between languages. It’s the default and works like a charm!
Conclusion
And that’s it! You’re now a pro at changing your keyboard language shortcut in Windows 11. Whether you’re switching between languages to type a quick message or working on an important document, this little tweak can save you loads of time. Now go ahead and give it a try—you’ll thank yourself later!

