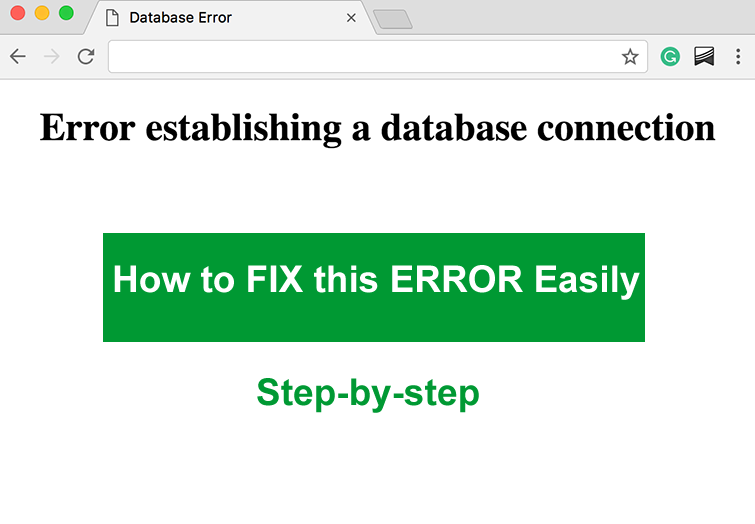
This WordPress error, establishing a database connection is normal so please do not panic. I want to guide you step by step to fixing it.
I’m going to propose a solution irrespective of your Web Hosting provider. I have seen many guides how to fix this database connection error. But most of these are specific to different hosting solutions.
We will look at salvaging this in 3 different ways:
- Checking to make sure we are properly connecting to the database
- Using the WordPress Database repair tool
- Contacting your host
Again don’t panic. These are very friendly tools and methods and I will make sure even my grand ma can follow these instructions and fix the problem.
Table of Contents - What is covered in this post
What causes the database connection error in WordPress?
If you are just creating a new WordPress blog, chances are that you are having issues with your database login parameters or your database server is not started.
You have to make sure you cross-check the following database connection elements:
- Your database host url (Provided by your host, localhost in most cases)
- Also check the database name
- Make sure the database username is correct
- Verify the database password
- Check that the database server is up and running.
The first four elements are stored in a file called [thrive_highlight highlight=’default’ text=’light’] wp-config.php[/thrive_highlight]. This is what it looks like:
[thrive_highlight highlight=’#f7f7f7′ text=’light’]
define('DB_NAME', 'database-name');
define('DB_USER', 'database-username');
define('DB_PASSWORD', 'database-password');
define('DB_HOST', 'localhost');
[/thrive_highlight]
If a new site triggers this “error establishing a database connection” and you’ve checked and confirmed your parameters are correct, I’ll suggest you contact your web host.
If you are running on a local server, restart it and that should resolve the matter.
NB: For local servers running on your PC, be sure the MySQL database port 3306 is not being used by another app.
A sudden “error establishing a database connection” message.
If your site was online with no database connection issue, and suddenly you are getting this message, something just went wrong that can be fixed.
Maybe your MySQL database server is down. That’s an issue you cannot directly fix if you are hosting on a remote server. Quickly get in touch with your host for a solution.
If you are hosting with a reliable web hosting provider like WPX Hosting, the issue should be fixed in a couple of minute. All you need is to contact them through their live support tool.
What causes database server to stop functioning?
So many different factors:
- Poorly optimized server
- Low performing hardware
- DDoS attack on your server
- Sudden rise or spike in your traffic
Moving your WordPress site from one host to another.
Moving from one web host to the other is sometimes very challenging. Often, we face different annoying technical errors including the error establishing a database connection issue.
If this is your case, make sure you use the parameters from the new server more correctly. Generally, there will be a change in the database host URL as this doesn’t depend on you. You may want to maintain your Db name, username and password.
Some folks have reported this error using Godaddy. Others have indicated they face the database connection error on AWS (Amazon Web Services). The best walk through is to contact your service provider.
Error establishing a database connection in WordPress installation.
This error is as well common during WordPress installation. If you are running local XAMPP, WAMP or MAMP server, chances are you’ve missed something in the connection parameters.
Check to confirm your MySQL server is running. If it’s not online, make sure the local MySQL database port is available. Also double-check you are using the correct parameters: database name, username, password and of course localhost for the mos part.
Trying Repairing your database may solve the error establishing a database connection problem.
We are going to run a script that will repair your MySQL database and hopefully, this should resolve the issue. WordPress comes with a database repair tool that allows you to repair the corrupted database without or with very little technical knowledge.
But to run this, we need to enable it. By default, for security reasons, this tool is disabled. I’m going to show you exactly how to enable the tool without sweating.
a) Use FTP to download the config file
First, let’s enable the tool using an FTP software. If you are not comfortable with using FTP applications, step to the next method (b) below.
To be able to use this FTP (File Transfer Protocol) method, you need a couple of things:
- A free FTP client
- Your web’s FTP URL
- FTP password
- And FTP Username
These elements should be made available by your web hosting provider. You may want to use FileZilla or any other FTP client you are comfortable with.
Start the application and enter your Host, Username and Password. Generally, the Port should be left as it is except specific instructions given by your host.
Connect to your WordPress root folder and download the [thrive_highlight highlight=’default’ text=’light’] wp-config.php[/thrive_highlight] file.
Open the file in any text editor.
Copy the following piece of code and paste somewhere in the file.
[thrive_highlight highlight='#eeee22' text='dark']define('WP_ALLOW_REPAIR', true);[/thrive_highlight]
You may want to scroll toward the bottom of the file and add it just before/after That’s all, stop editing! Happy blogging text
Note that this file has a couple of lines that maybe confusing. Make sure you do not displace anything as this may completely break your blog.
For more safety, I recommend you safe or backup a copy of the file before doing the modifications:
After the changes, safe the file and upload to the server, replacing the copy that’s there. Note that without this line added to this file, this tool won’t work.
b) Using online file manager with cPanel
Now, this procedure is unique for cPanel control panel. If you are using a Web hosting Control panel that’s not cPanel, You have to locate its online file manager. Browse to the root of your WordPress installation and locate the same file.
For cPanel users:
Just click the File Manager link somewhere on your cPanel dashboard.
This will take you to the online file manager. Browse to the root of your blog. If your blog is installed at the root of your domain name, it should be something like [thrive_highlight highlight=’#eeee22′ text=’light’]public_html/[/thrive_highlight] or [thrive_highlight highlight=’#eeee22′ text=’light’]www/ [/thrive_highlight]
If you have the blog installed in a sub-folder, brow and locate it.
I prefer using the ‘Code Editor’ as this opens the file is a php friendly text editor with colored and well formatted source code.
Here is what it looks like:
Click the Save Changes button
Access the tool and run the repair process from your web browser.
Now, we have our tool ready to run. The next thing is to open it in a web browser.
Go to [thrive_highlight highlight=’default’ text=’light’]https://yourdomain.com/wp-admin/maint/repair.php[/thrive_highlight]
NB: Replace yourdomain.com with your real domain name.
If your blog is installed somewhere in a sub folder, be sure to indicate the path to your the root folder:
[thrive_highlight highlight=’default’ text=’light’]https://yourdomain.com/path-to-blog/wp-admin/maint/repair.php[/thrive_highlight]
Here is what you get next:
There are two options here:
- Simply repair the Database
- Repair and Optimize.
I’ll recommend you click the second option. That correct any database errors and optimize the table for improved performance.
Once repair is complete, remove the line you added above from [thrive_highlight highlight=’default’ text=’light’]wp-config.php[/thrive_highlight] to prevent the tool from being used by unauthorized users. Reload your website.
The Error establishing a database connection continues.
Phew!
We are going to try another fix.
First, make sure you backup your database. If you are not comfortable with this method, please contact your host. But if you are confident, let’s run a short SQL script.
Each time a copy of WordPress is installed, it tracks the domain name and stores it in the database. That means a copy of wp that was installed on domainA.com cannot just be transfered to domainB.com. The domain name will have to be changed in the Db as well.
We want to run an SQL script that will make sure the domain name in our MySQL Db is the right one on which we want to host the blog.
Here is the SQL script to run:
[thrive_highlight highlight=’#d6d6d6′ text=’light’]
UPDATE wp_options SET option_value='YOUR_BLOG_URL WHERE option_name='siteurl'
[/thrive_highlight]
There are two points to note here:
- The default database table prefix wp_ may be different from yours. Check to make sure you use the correct table name.
- Replace YOUR_BLOG_URL with your actual domain name.
How to run this script?
There are different Db editors out there. For the most part, you are going to use phpMyAdmin. Simply paste the query in the query form and execute:
If this still doesn’t solve the problem, I highly recommend contacting your host. Trying some more complex fixes may end up landing your website in deeper shit.
On the other hand, let me know if my suggestions got you a solution. Drop a comment below.

