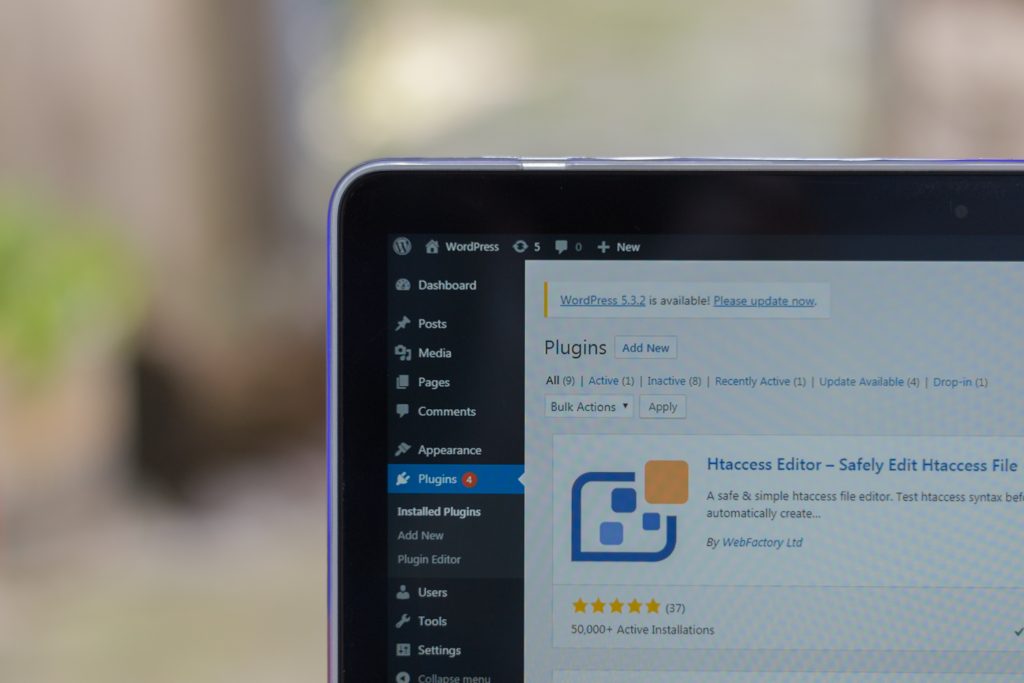
Plugins are widely used to improve and build upon already existing functionalities of WordPress, but just like they aid you in managing your content, they too have to be managed by performing regular updates.
Plugins allow you to achieve what you want on your site with, conditionally speaking, a few clicks. Developers who release a plugin that is then used on various WordPress sites are constantly working to improve that plugin and to fix problems that are discovered after the plugin is officially released.
Some of the improvements may be in the areas of security, performance, new features, and many others. So, it is very important to maintain the installed plugins and constantly update them because there is a good reason for them being updated.
Why Updating Plugins Is Important
There are many reasons to update the plugins you have installed. Here we will list only some of the most important ones.
- Security – We can freely say that this is the most important reason for updating plugins. As a massively popular platform, WordPress can often find itself the target of hackers. If you do not have the latest version of a plugin, you are at risk of your site getting hacked, as un-updated plugins can serve as a gateway to your site.
- New features – A large number of updates generally occur due to new features being added, and so it is with WordPress plugins. In order to have access to everything a plugin offers, you have to make sure it’s always updated.
- Speed - Improving speed is an integral part of any update. If you do not do regular plugin updates, you will simply lag behind the competition, which you definitely do not want.
- Bug fixes – Everybody makes mistakes, and so do plugin developers. Almost every product has some undetected bug that rears its ugly head at some point. When discovered, users report the bug, and an update is generally released when the bug is fixed.
What to Do Before Updating?
Every update carries some risks, especially when it comes to updating WordPress plugins. The possible problems can be various, from the possibility of it no longer working to the loss of data on the site.
What is important is that before each update, you make a copy of what you have on your WordPress site at that time that you will be able to restore and activate in case a problem occurs. While on topic, we simply must mention WP Reset and its role in the pre-update process.
One of WP Reset’s strongest features is snapshots. Using snapshots gives you the ability to easily, quickly, and efficiently save the last state of your WordPress site. These snapshots are used to recover your site, if necessary, or to compare with the current state of the site, in case you want to see the changes that have taken place.
When you want to update a plugin, first make a snapshot with the help of WP Reset, and then feel free to update whatever you want, because in case something happens and things go badly, with snapshots, you can just go back in time and restore your site to its previous working state.
However, if the situation is dire, the ERS – Emergency Recovery Script enters the scene. The ERS is a PHP script, an independent file used to recover a WordPress site in situations such as admin access being blocked, core files are missing or have been deleted, the white screen of death, etc.
Instead of reinstalling the whole thing, with the help of the ERS, you are able to recover your WordPress site in a few minutes without any coding or messing about with an FTP Client.
How to Update a Plugin?
Once you have secured yourself by creating a snapshot of your site, you are free to start the process of updating the plugin. The update can be done in two ways, automatically and manually.
For automatic updating, you need to pre-set and enable automatic updates of plugins. This can be done from the WordPress dashboard, and we have to note that it is very simple.
Select “Plugins” and then navigate to “Installed Plugins” from the submenu. As a result, you will get a list of every plugin on your site with the option ‘Enable auto-updates” next to each of them. Find the plugins you want to auto-update, either all or only a few, and just click the button. You simply have no excuse not to do this.
On the other hand, those who are not fans of this method have the opportunity to update plugins manually. Much like auto-updates, manually updating them is as simple as it can get, and even your grandma could do it. So, let’s get started.
Select “Plugins” and navigate ” Installed plugins” in the submenu. Scroll through the list and find the plugins that need to update. Simply click on the text-link “update now” from the “warning box,” and in a few seconds, the plugin will be updated.
It’s also possible to do this for every plugin separately and for all of them at the same time, so let’s see how it’s done.
Steps for manually updating plugins individually:
- Click on Plugins
- Click on Installed Plugins
- Choose the Update Available button
- Click update now
It is also possible to select multiple plugins at the same time and then start the process of updating them all at the same time.
Steps for manually updating multiple plugins at a time:
- Click on Plugins
- Click on Installed Plugins
- Choose the Update Available button
- Check checkboxes of the plugins you want to update together
- Choose the Update button from the dropdown and then click Apply
Conclusion
Regular maintenance and updating of plugins is essential to any site’s speed and overall functionality. You should also make sure you’re well-acquainted with the features of said plugins to get the best out of them. WP Reset is a great starting point for any website’s security, and it can also greatly aid you when updating your plugins, so make sure you have it ready.

