

Voicemail is a useful feature on iPhones, allowing users to receive and manage voice messages from missed calls. However, many users find voicemail notifications annoying or prefer using alternative messaging services. In iOS 18, Apple has enhanced the voicemail experience, introducing real-time transcription of voice messages and the ability to create custom voicemail greetings. Despite these improvements, some users may still want to disable voicemail entirely.
In this article, we’ll guide you through the steps to both disable and enable voicemail in iOS 18, ensuring that your iPhone settings match your personal preferences.
Understanding Voicemail in iOS 18
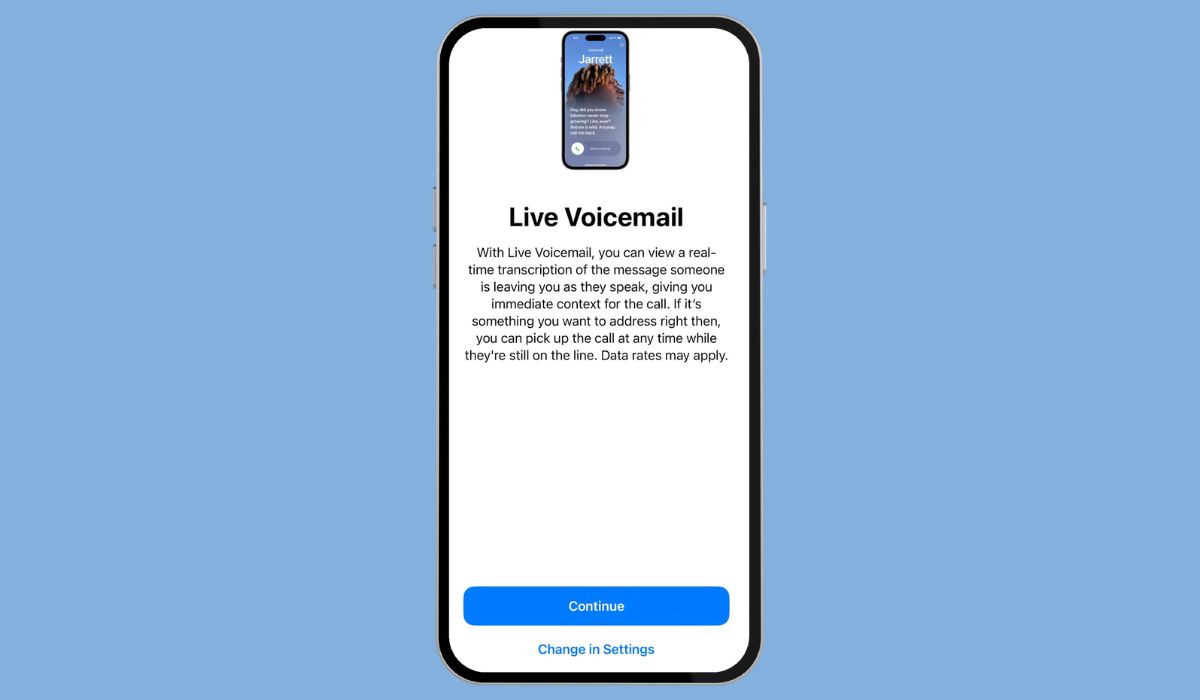
Voicemail is a service provided by mobile carriers that allows callers to leave voice messages when you can’t answer. Integrated into iOS 18, Apple has introduced Live Voicemail, which provides real-time transcriptions of messages as they are being recorded. This feature is designed to make voicemail more user-friendly, but not everyone may find it necessary or convenient. Whether you’re looking to avoid managing voicemail or reduce notifications, iOS 18 gives you the flexibility to disable it.
How to Disable Voicemail in iOS 18
By default, iOS 18 enables voicemail, including the Live Voicemail feature, when you update your iPhone. Fortunately, Apple has made it easy to turn off this feature. Follow the steps below to disable voicemail on your iPhone.
Steps to Disable Voicemail:
- Open the Settings App:
- Unlock your iPhone and locate the Settings app.
- Navigate to Apps:
- Scroll down and tap on Apps at the bottom of the Settings menu.
- Access Phone Settings:
- In the Apps section, select Phone to view its settings.
- Turn Off Live Voicemail:
- Scroll down to find the Live Voicemail option and toggle it off.
Once you’ve completed these steps, voicemail will be disabled on your iPhone, and the voicemail option in the Phone app will no longer be available. This will prevent future voicemail messages from being recorded or transcribed.
While disabling voicemail is straightforward, it’s important to note that some carriers may restrict this feature. If you encounter issues when trying to disable voicemail via the iPhone’s settings, you may need to contact your carrier to turn off voicemail directly through them. Also, keep in mind that disabling voicemail means callers won’t have the option to leave you a message, so ensure this aligns with your preferences.
Read Also: Why Your iPhone is Stuck in SOS Mode and How to Fix It Fast
How to Enable Voicemail in iOS 18
If you previously disabled voicemail and now wish to re-enable it, you can easily do so by following these steps.
Steps to Enable Voicemail:
- Open the Settings App:
- Open Settings from your home screen.
- Navigate to Apps:
- Scroll down and select Apps to view your installed apps.
- Select Phone:
- Tap on Phone to access its settings.
- Turn On Live Voicemail:
- Toggle the switch next to Live Voicemail to re-enable it.
After enabling voicemail, the option will reappear in the Phone app, allowing you to receive and manage voicemail messages again.
Setting Up Voicemail Greetings in iOS 18
Once voicemail is enabled, you may want to customize your voicemail greeting. Here’s how to set up or change your greeting:
- Open the Phone app and tap the Voicemail tab at the bottom.
- Select Greeting in the top-left corner.
- Choose either Default (standard greeting) or Custom to record a personal message.
- If you choose Custom, tap Record, say your message, and tap Stop when finished.
- Tap Save to confirm your new greeting.
How to Manage Voicemail Messages in iOS 18
With voicemail re-enabled, managing your messages is simple:
- Open the Phone app, go to the Voicemail tab, and tap on any message to play it.
- Tap the Share button and save important messages to Files or share them through messaging apps.
- Swipe left on a voicemail and tap Delete. Deleted messages move to the Deleted Messages folder, where they can be permanently erased.
- Tap the message, then tap Share to send it via email, AirDrop, or other sharing options.
Conclusion
While voicemail can be a convenient feature for many iPhone users, it’s not essential for everyone. Whether you’re disabling voicemail to reduce notifications or enabling it to manage missed calls more effectively, iOS 18 provides the tools to tailor voicemail to your needs. By following the steps outlined in this article, you can easily disable or enable voicemail on your iPhone and customize the experience to suit your preferences.
If you encounter any difficulties or have specific questions, refer to Apple’s official support pages or contact your mobile carrier for assistance.