

Krita is free, open-source software for painting and image editing. Many artists and designers use it for digital art, but it can also help you manage image size. Compressing images in Krita reduces file size for sharing, saving space, and faster uploads without losing much quality. This guide explains how to do it right, what settings matter, and how to choose the best format for your needs.
What Is Image Compression

Image compression means reducing the file size while keeping visual quality good enough for your purpose. There are two main types of compression:
- Lossy compression removes some data to make the file smaller. It’s used in JPEG and WebP formats.
- Lossless compression keeps every detail but creates larger files. PNG is an example.
The goal is to find balance. A high-quality JPEG can look great while taking less space than a PNG. This helps when uploading artwork to websites or sending files through email. Krita supports both types and gives you control over how much compression you apply.
How to Access Image Export Settings in Krita
Follow these steps to compress an image in Krita:
- Open your project in Krita.
- Go to File > Export.
- Choose a format such as JPEG, PNG, or WebP.
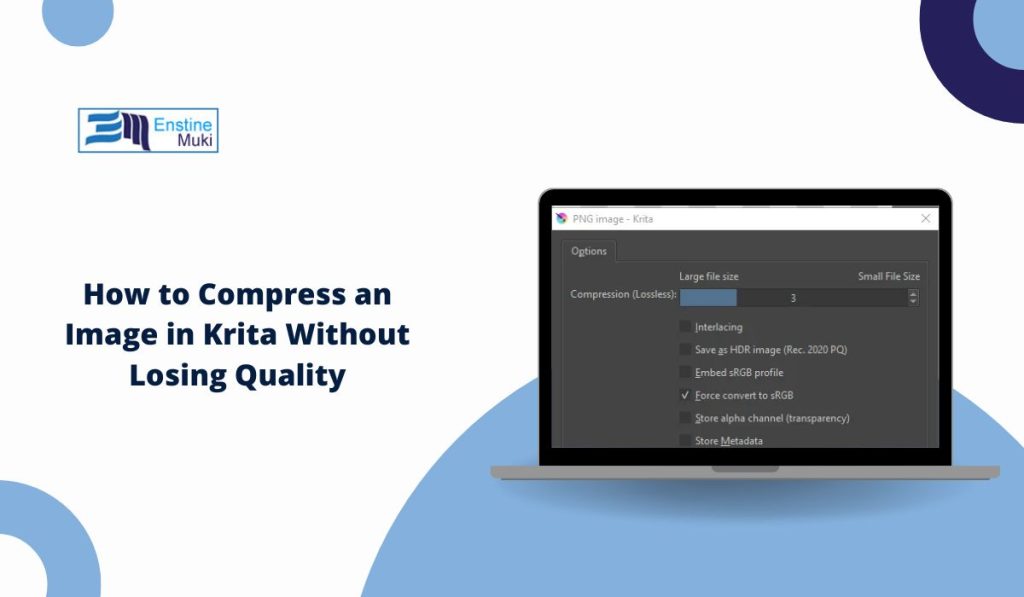
- Click Export and a new window will appear with settings.
- Use the Quality slider to control compression. Lower numbers mean smaller file size but lower quality.
- Adjust bit depth or color profile if needed.
- Click Save when you’re happy with the settings.
You can preview how the image looks before saving. Krita’s export dialog shows you file size estimates, so you can find a good balance between quality and size.
Best File Formats for Compression in Krita
Different file types work best for different needs.
JPEG
- Ideal for photos and complex images
- Uses lossy compression
- Adjustable quality between 1 and 100
- Keeps colors smooth but may blur sharp edges
PNG
- Great for graphics and images with transparency
- Uses lossless compression
- Larger files but no quality loss
- Best for icons, web elements, and art that needs clean edges
WebP
- New format supported by Krita
- Combines the best of JPEG and PNG
- Can use both lossy and lossless compression
- Small file sizes with solid visual results
When saving images for websites or social media, WebP often gives you the smallest file with decent quality.
Adjusting Quality, Resolution, and Metadata Settings
Compression is not only about file type. Resolution and metadata also affect file size.
- Quality sliders in Krita control how much data is kept. A setting around 80 gives a good balance.
- Resolution controls how many pixels your image has. You can resize large images before exporting. For web, 72 DPI is enough. For print, use 300 DPI.
- Metadata like EXIF, ICC profiles, and comments can be removed to save space.
Removing unused color profiles and metadata helps reduce file weight without changing how it looks on screen.
Advanced Tips: Batch Compression and Export Presets
Krita can save time when you need to compress multiple images.
- Use Batch Export under the “File” menu to save several files at once.
- Create Export Presets with your favorite settings, like format, quality, and folder location.
- Use consistent color profiles such as sRGB for web images.
- Test your presets by exporting a few files first before applying them to all images.
This workflow helps you keep quality consistent and speeds up repetitive tasks.
Krita vs Other Tools
Krita, Photoshop, and GIMP can all compress images, but Krita is free and simple to use.
- Photoshop offers more export automation but costs money.
- GIMP supports similar formats but has a different layout.
- Krita works well for artists who already use it for painting and need simple export control.
For most users, Krita’s compression tools are enough for both professional and hobby use.
Conclusion
Compressing an image in Krita is simple when you understand the basics of file types, quality, and export options. Start with JPEG or WebP for small files, use PNG for sharp graphics, and adjust settings until the file looks right. Clean metadata, lower resolution if needed, and always preview before saving.
If this guide helped, share it or drop a comment with your favorite Krita tips. Helping others learn simple workflows keeps the art community strong.