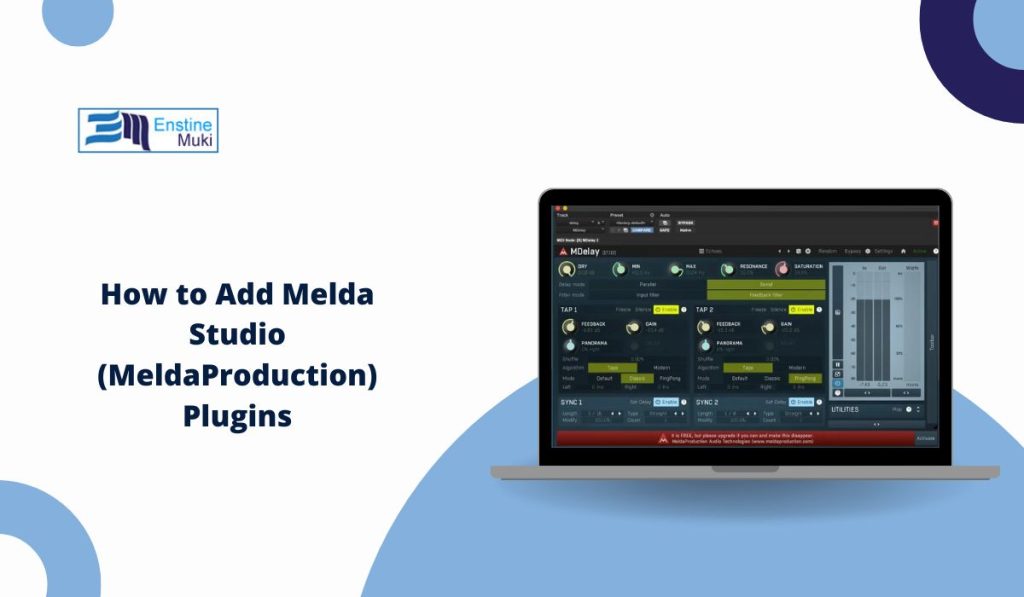
MeldaProduction, often called Melda Studio, makes professional audio tools used by music producers, mixing engineers, and game sound designers. Their plugins work in most digital audio workstations (DAWs) such as FL Studio, Ableton Live, Reaper, Cubase, and Logic Pro.
If you’ve downloaded a Melda plugin but can’t find it inside your DAW, this guide will help. You’ll learn how to install Melda Studio plugins, scan them correctly, and activate them for use in your music or game projects.
System Requirements and Supported Formats
Melda plugins run on Windows and macOS systems. They support the main plugin formats used by DAWs:
- VST / VST3 (Windows and macOS)
- AU (Audio Unit) (macOS only)
- AAX (for Pro Tools)
Before installing, make sure your system meets these basics:
- 64-bit operating system
- A compatible DAW installed
- Around 1 GB of free storage space
- Internet connection for download and activation
Melda plugins are available as both free and paid versions, all installed through a single package.
How to Download and Install Melda Studio Plugins
You only need one installer for all Melda plugins.
- Go to the MeldaProduction website.
- Click Download and choose your operating system.
- Download the MeldaProduction Installer.
- Open the installer file and follow the steps on screen.
- Choose the plugin bundle you want to install (for example, MFreeFXBundle).
- Select your plugin formats – VST3, VST, AU, or AAX.
- Confirm or change the installation folder.
- Wait until the process finishes, then close the installer.
After installation, restart your DAW so it can detect the new plugins.
How to Add Melda Plugins to Your DAW
Each DAW handles plugin scanning differently. Here’s how to make your Melda plugins appear in common ones:
FL Studio
- Open Options → Manage Plugins.
- Click Add Path and select your VST3 or VST folder (for example,
C:\Program Files\Common Files\VST3). - Press Find Plugins to rescan.
- Look for “MeldaProduction” in the list.
Ableton Live
- Go to Preferences → Plug-ins.
- Turn on Use VST3 Plug-ins and Use Custom Folder if needed.
- Click Rescan.
Reaper / Cubase
- Open Options → Preferences → VST.
- Add the Melda plugin folder if missing.
- Click Re-scan or Clear cache and re-scan.
Once the scan finishes, Melda plugins should appear under the effects list.
How to Activate Free and Paid Versions
Melda plugins install as a complete suite. Free users can use the plugins with limited features, while paid users can unlock them.
Steps to activate:
- Open any Melda plugin inside your DAW.
- Click the Activate button at the top of the window.
- Enter your license key if you have one.
- Click OK and restart your DAW.
The plugin will switch from demo or free mode to the full version.
Fixing Plugin Problems
If your DAW doesn’t find Melda plugins or they don’t load correctly, try these fixes:
- No plugins showing: Recheck your plugin folder paths and make sure you installed VST3 or AU correctly.
- Plugins crash or freeze: Update your Melda installer and GPU drivers, then reinstall.
- Activation not saving: Run your DAW as Administrator and reactivate the plugin.
- Plugins missing in macOS: Reboot your system and open your DAW in Rosetta mode if you’re using an Apple Silicon Mac.
You can also use the MeldaProduction Installer to repair or update plugins anytime.
Using Melda Plugins for Music and Game Audio
Melda plugins work not only for music but also for game audio. Sound designers use tools like MCompressor, MEqualizer, and MReverb to process sound effects before exporting them to engines like Unreal, Unity, FMOD, or Wwise.
To use them for game audio:
- Create and process sounds in your DAW with Melda effects.
- Export as WAV or OGG files.
- Import them into your game engine or middleware project.
These tools help shape immersive environments and clean, polished sound for games or media.
Conclusion
Adding Melda Studio plugins is simple once you know where to install them and how to scan them inside your DAW. Download the installer, pick your formats, rescan your plugins, and you’re ready to mix, master, or design sounds.
If you found this guide useful, share it with other producers or sound designers who are setting up their MeldaProduction tools for the first time.

